**9/12/2018**
I don't know what this picture was for but I took it so here it is.
The next step to total engine disassembly is to remove the clutch cover. Simply remove the bolts and off it comes, not even stuck in place because clutch plate replacements are a frequent milestone in CB250 ownership.
This clutch cover is completely knackered as the locating boss/hole for the tacho cable is ovalled beyond hope and the driving pin for cable broke somewhere in Spain, so its last job is to act as a bucket for engine parts. Next up is to remove the oil pump because it is in the way of getting the clutch basket off, spot the difference!
Easy enough again, just take the bolts out.
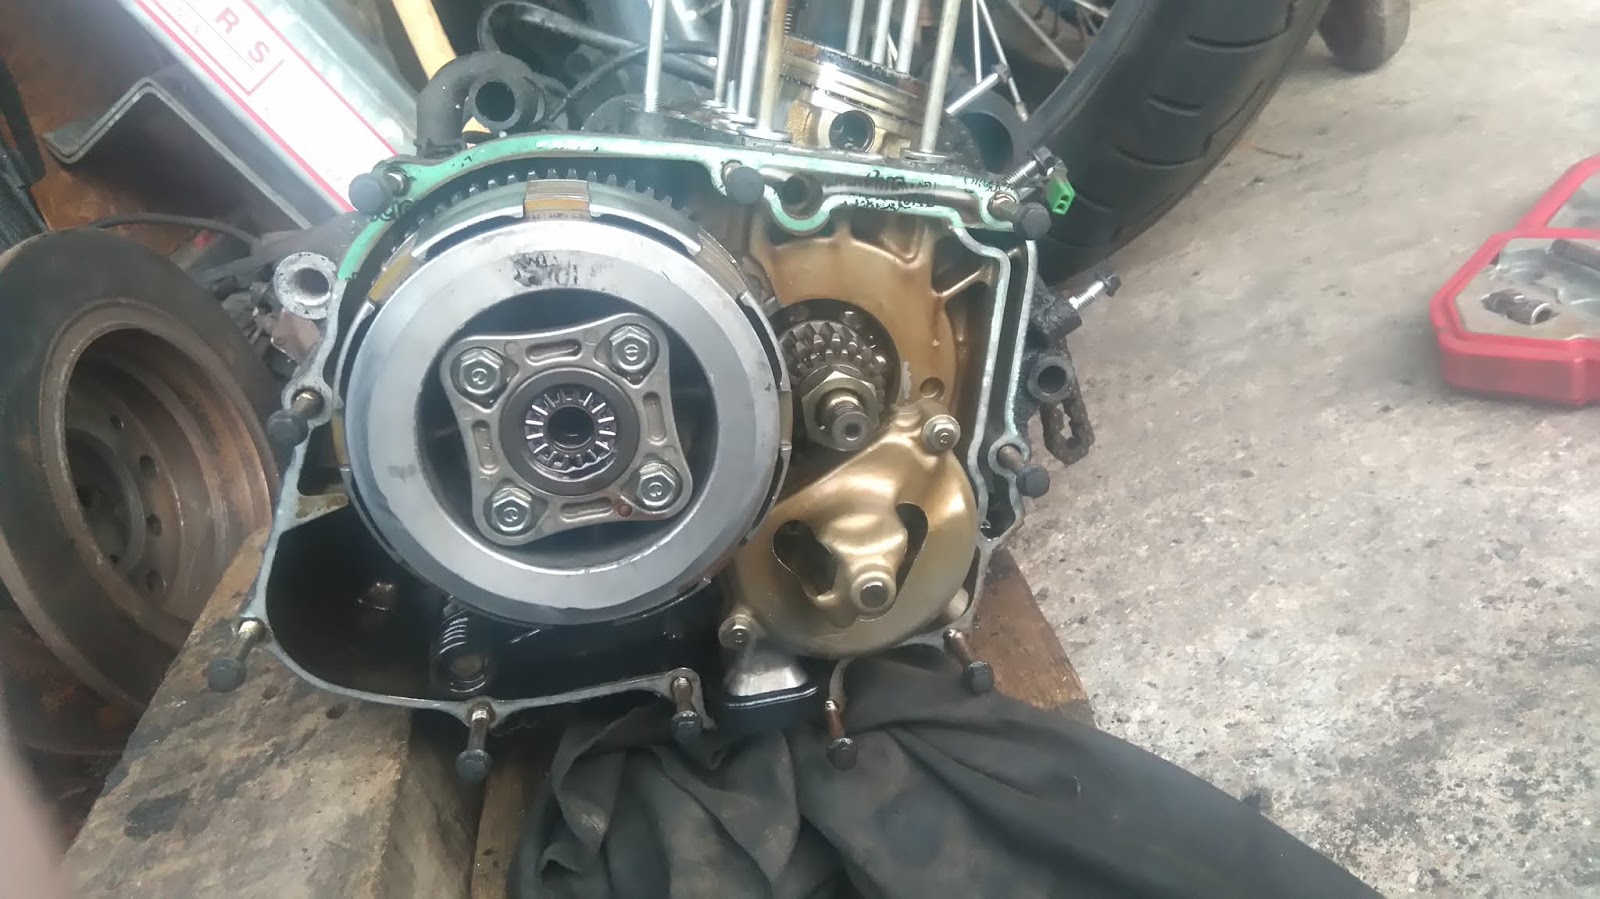
Next up is the clutch, first remove the radial bearing and springs from the centre of the clutch by, you guessed it, removing the bolts!
Then stop because the days in November are ludicrously short and it's dark and cold. Also you need a special tool for the clutch centre nut and, even though you know (
you know!) you have one somewhere you just can't find it. You also know that the CBX250RS has a traditional hex nut and that no one has died from its application. So then go order a cheap one from Hong Kong which takes an age to arrive.
**9/2/2019**
Aha!
Bloody Honda mutter mutter, special nut for no reason mumble grumble.. With the right tool to hand it's time to attack the centre nut. This is quite difficult when the crank can spin freely, I decided to use an electronic wheel nut remover/impact tool to clack it off. This worked a treat but remember to bend the staked bit of the nut off the countershaft first.
Into the clutch cover/bucket it goes..
The plates put up a real fight before finally coming out, I think this is because there are small but definite notches worn into the fingers of the basket. Never mind.
Next up is removing the primary drive gears, this is quite easy as long as you have an early copper penny handy - don't use a later steel one as it could damage the gear teeth. I think the year of changeover was 1994? You might want to check that.
And let loose the impact driver of war! After this everything just kind of falls out.
Remove the rest of the oil pump body using the correct screwdriver bit, everything in here will be JIS. If you use a screwdriver you'll never get proper angle/torque on it, those who know will use a ratchet and a bit like so:
Looking quite good now innit? Next up is to remove all the gear selector gubbins, and here we may well have found why the gearbox was getting so sloppy - why is the disc on the end of the detent arm so far from central?
Hmm, massive wear is why.
That disc in the centre is supposed to be a circle, with all this wear the gear change shaft will be able to move further than it is supposed to which would explain the increasing frequency of missed changes. Hopefully this means the rest of the gearbox is still okay, that would be nice.
Next up remove the detent star (remove the bolt, durrr) and then remove the gear change shaft. This is kind of interesting because it slides inwards..
This may or may not have ruined the seal around it, I dunno. Chuck it all in the bucket.
A good day's work, I say!


No comments:
Post a Comment