**16/2/2019**
Before going any further I decided the next thing should be to try and extract what was left of the bolt that was supposed to be helping to clamp the head and barrels down but had instead been broken for a long time. Armed with nothing more than a cheap Am-Tech Dremel rip off to make a small dent in the top of the bolt (the supplied drill bits being made of cheese) and then a small Black & Decker drill with a proper bit in it I did actually manage to make a dish in the top of the steel! I was surprised, most convinced that the drill would just slide off and ruin all the aluminium threads surrounding the hard steel..
And maybe it's a better picture with some flash?
The next step was to try and get some extractors to grab the bolt and turn it out, Dad had a cheap set that looked the business:
But they proved to be completely ineffective, nowhere near sharp enough to get a hold of the steel. Plan B!
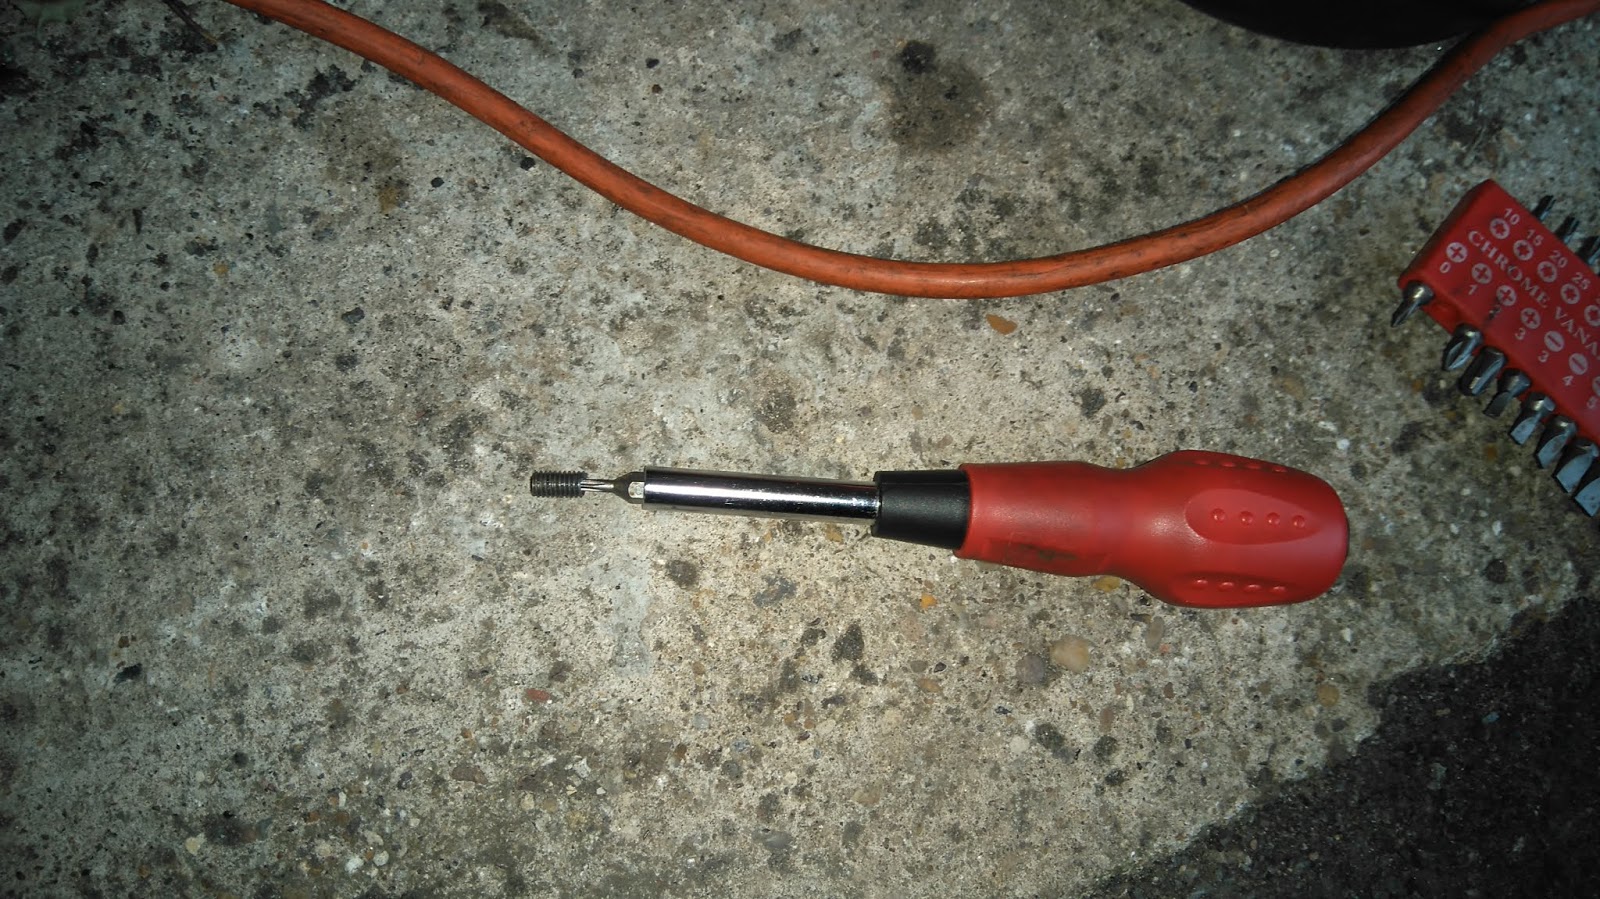
Torx bits are great. A few taps with the hammer to make it bite and..
Very little effort was needed to unscrew the remains, it was never tight. Again I wonder if the bolt had a manufacturing fault in it right from the start? Anyway, one empty hole!
Is the thread okay though??
It is! Success!! I done did some proper engineering like.
**9/3/2019**
With everything going so well it's time to try and split the cases. I had a go at cleaning them to stop too much gunge getting inside the motor, I think you'll find my efforts were more than acceptable (?)..
I had a go at pulling on the bolts that used to hold the clutch cover on but that just wasn't doing the business.
The bolts go back in this sequence, lest I forget.
That is some spare washing line, part of a plan. This day was windy, which nearly blew the cover off the awaiting frame.. Cor look arrit!
Must fix must fix must fix.. Time to employ the plan. Remove the plunger gubbins from the old scrap clutch cover, thread the washing line through the clutch plunger arm hole and the dipstick hole, bolt the cover back on the engine and then use the washing line to suspend the engine from an engine crane or whatever. Boom, all the weight on one side. Good Lord I'm so clever.
I used a bit of wooden stick and a mallet and set about separating the cases. This took a lot of effort, I don't know how else you would ever do it. I don't need to tell you why you shouldn't jab a screwdriver in between the halves, right?
The starter motor hole also took a good malleting.
At this point the cases seemed to stop separating any further, had I missed something??
It turned out it was just the countershaft bearing being tight in the case, nothing a few choice mallet whacks couldn't sort out.
At this point I realised I had to remove a piston because the big studs in the cases won't go past it, and it's easier (and safer) to unclip a piston than remove those studs.
Annoyingly the circlip pinged away never to be seen again but no time to mourn that now, things are just getting exciting!
One last pull and..
A quick squizz shows the gearbox is probably not falling to bits, no missing teeth or any obvious smashiness to report. Excellent.
Remember where this goes. It comes off the shaft very easily so I'll probably get it wrong later on.
Welcome to the weird bearing carrier thing in the middle of the crank, and the strangest cam chain tensioner I ever done saw.
And also the upper front mount, sporting serious ovality. However it does also show that the dowel pin has not been worn right through, which means that particular bit of housing is still round and the cases will go back together straight if I ever get that far.
Maybe this can all be saved after all, the only truly dead bits found were the heavily scarred bore and the detent arm. In case you even thought to ask, the crank and all of its bearings are perfectly tight. Hmmm.


No comments:
Post a Comment