**Day ??? This has gone on for far too long already - 25/11/2018**
With the chassis mostly sorted apart from the completely ruined rear wheel it was time to sort the ovalled mounting holes in the motor. At first I considered just taking the alternator and clutch covers off to get a flat surface both sides and drill through, but the fact is that once I'd done all that the crank would still be sticking out and the gearbox didn't work very well any more and it is still on the original cam chain at 93K so I quickly decided to do a full tear down instead, if the bolts would let me. So here goes!
This here bolt sits at the front of the engine and gets constantly sprayed with muck and water, if anything is going to give me trouble it's this one.
To help decide if this was at all worth starting I also undid every bolt I could find that held the crank cases together, if any of these sheared or flat out refused to budge then it's time for a new engine, simple as.
They all undid. Here we go then?
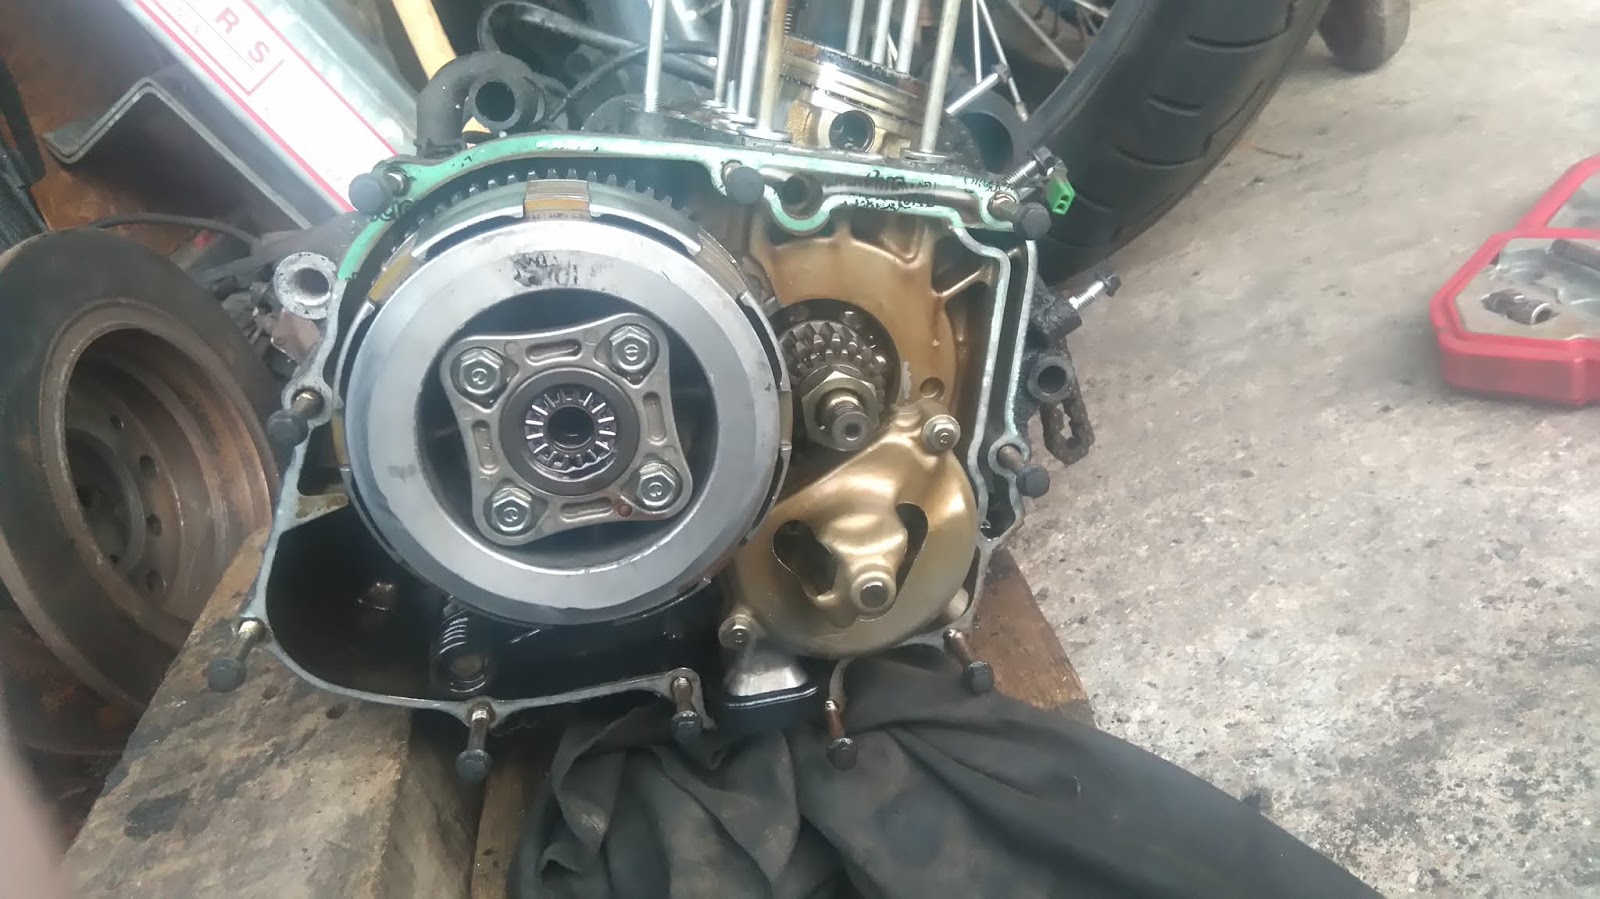
It put up a fight and shouted a few meaningful clicks but it came out. We're off!
I thought this was holding the cam chain tensioner in place but it's not really, there's another one behind the inlet manifold that is doing the real work.
This is the tensioner. Honestly how does it work?
This bolt is one of 2 long ones that are at the back of the motor. This one had been broken for a long time, possibly since original installation! It may help explain why oil had always seeped out from the top end.
Undo the nuts and the cam holders/rocker assemblies will lift off, pretty easy so far.
I see Honda got around their long-term fault of cams only running in the head for a while before munching the aluminium by using steel bushes, muuuch better! This explains how I've never had to see this part of the motor despite its ridiculous mileage.
And a shot with flash because why not?
Even better than giving no trouble, I could find no discernible wear in the parts. The rocker assemblies look like this:
Again no discernible wear, they appear to be the same shape they were back in 1994. This is a world away from my experiences with the CBX250RS which would have eaten about five sets of cams and rockers by this kind of mileage.
The next step is to figure out how this blasted tensioner works so that I can get the chain off the camshaft.
After reading the book several times I think something is to be pulled upwards but I can't figure out what. Eventually I figure out that the nubbin on the top is the thing, and that such a strong grip/amount of force is needed that you must use mole grips (over centre pliar things) to perform the task. Once it is pulled up enough then stick something through the hole so it doesn't go straight back down.
Time to stop, it's dark :(
**2/12/2018**
With the tensioner let off it's time to try and get the chain off the cam sprocket. This was very difficult indeed, so I decided instead to unbolt the sprocket from the cam to get some extra slack in the chain. As far as I can tell there are no marks on the cam or the sprocket to suggest which way round they should be put together so I marked them with Tipp-Ex:
Put a ratchet on the crank so that it doesn't spin while you're trying to undo the sprocket bolts:
Et voila, one free cam!
Everything about this motor so far is in surprisingly good condition, it's not even too stained. Those 2000 mile oil changes must have helped.
The chain fell down the tunnel but it doesn't matter as long as the crank doesn't turn any more. Which it won't because there's no need.
The tensioner was still held in by the bolt behind the inlet manifold which I only discovered at this point. I see you!
Off comes the manifold..
And, with a click, out comes the bolt.
The tensioner is now free!
The taper on the bolt suggests I am going to have a lot of fun getting the tensioner bolted back into place. I have no choice though.
With everything disconnected at the top it is time to get the head off. A few taps with the rubber mallet and off she popped.
The head is surprisingly crusty, like oil is being burnt though the consumption never changed right from when I bought it with ~34600 miles on the clock - a top up at 1500 miles after a change and it'd be fine to 2000.
I wonder how much this raises the compression by? Anyway, turn the crank to bottom dead centre (taking care to not chew up the chain, I guess it did have to spin after all..), apply a few more taps with the mallet and off come the barrels, how exciting!
Here's the threaded end of that long bolt, still in the hole. Definitely been like this a long time.
This little bolt sits again right at the front of the engine underneath the barrels, I didn't know it was there until it was uncovered. This will surely be a right pain?
Anyway, how are the bores?? This one looks okay though the honing marks seem to be long gone..
The other one though, look at the rough patch at about 5 o'clock in this picture:
And again, cleaned up a bit:
Boy am I glad I stripped this down. It never drank oil but it did seem down on power, being exactly as fast as a CBR125 - perhaps this is part of the reason! This is actually quite encouraging, it means the bike might slightly less slow (or more economical?) after all this work.
After this discovery it was clear a full disassembly was required as there may be other things on the way out that I was not aware of. Yay.