**DAY 3 - 8/5/2018**
Bit rusty this, innit? Is this worth fixing?
**DAY 4 - 12/5/2018**
Let the fixing commence! This is Greg from work, he doesn't understand that a bike with a broken frame should never be repaired and he's also pretty handy with a welder. We undid the support bar that stopped the frame folding in half, lined the cracks up so the bits of metal fitted back together again and off he went. This was gas MIG.
The work basically consisted of using an angle grinder to remove any rust in the area, then using a thin cutting disc to cut a slot (to get rid of the rust around the breaks) and then welding the lot together. Check out the results, I was impressed!
Are you not impressed??
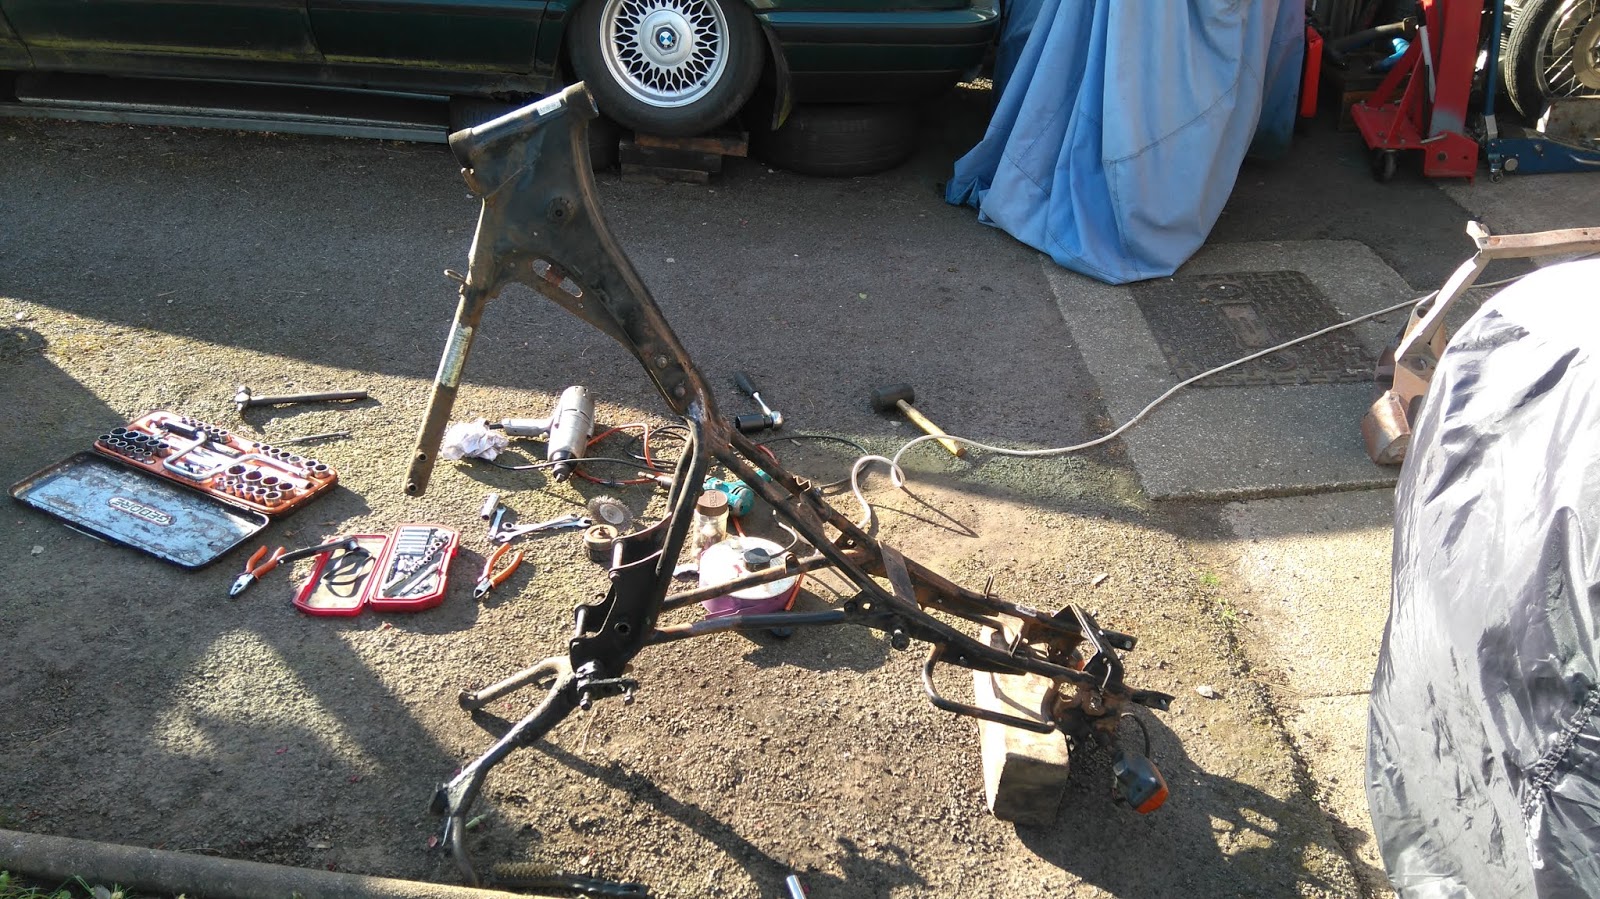
At this point the madness took over. The frame was saved, but the rust was deeper than I'd imagined. But it turns out that CB250 frames are not that cheap, and from this point on there's not a lot more work involved to strip it down completely, so a decision was made - do it all.
**DAY 5 - 13/5/2018**
First things first, a picture of the wiring around the airbox so I have some idea of how to reroute it all when the time comes to put it back together.
This is the oil separator thing for the crankcase breather, certainly I've never touched it. It has to be removed so that the airbox can be pulled out of the side of the frame, with a nice click the screw came undone without incident - another win for quality.
Soon enough..
This is really quite rusty. I've never done any bodywork stuff before, is this how you do it?
The brush was a waste of time. I need a power tool!
After a lot of power tooling it looked.. Well.. Rusty, really. But the big loose bits were gone at least. Also the frame doesn't fold in half any more, yay!
The collection of bits kept growing (funny that)..
A shot showing which way round to connect the coils, though I don't think I did disconnect them in the end.
The next step was to remove the front end. Whip the nut off the steering stem and it all falls out the bottom, easy peasy.
I'll leave it there for now.
As you can see, most of the wiring loom came with it which I guess is not surprising since most of the electrics are in the headlight area.
The swingarm also came straight out, just undo the nut on the end of the spindle and then pull the spindle out the frame. Another job I'd never done before but surprisingly easy.
After a long day I moved the front end into the shed for safe keeping:
And the frame into the garage to stop it rusting in places it shouldn't rust (headstock in particular):
Quite a satisfying couple of days!


No comments:
Post a Comment