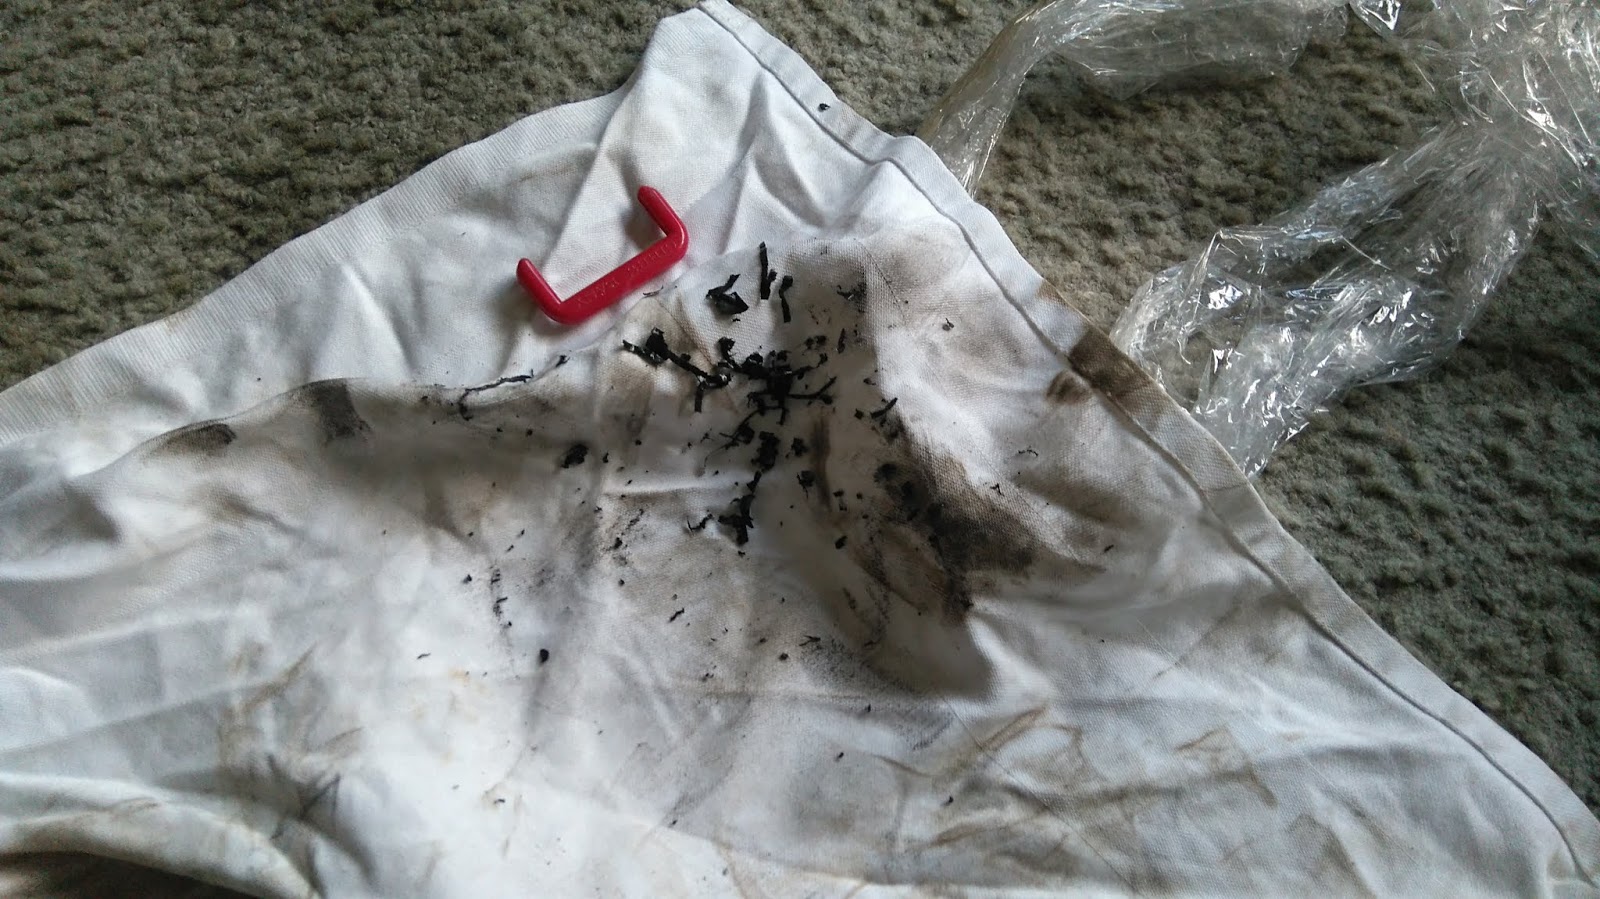
All TRXs and TDM850s built before 1997 have a problem with the heads of their inlet valves being too soft so they gradually deform and close up the valve clearance. After around 30,000 miles this speeds up because there is less metal in the area and at 37K I gave up on fitting ever thinner shims and looked into replacing the valves. Unfortunately the valves are around £60 each and I don't have a spring compressor small enough so I went with the easier alternative of swapping the whole head with that of a later TDM which happened to also only cost £155 or right about half that of 6 new inlet valves. So, here we go..
**Step 1 - Removing the exhaust**
This should be easy, I've previously owned bikes where the difficulty was in keeping the exhaust held on. The TRX is different though, people on the forum suggesting that the clamps corrode/weld themselves into place and that getting the exhaust to come off is just generally a right pain. And so it was. From the outside they looked okay:
The nuts are weird, long socket allen type. I got a special bit and hammered it in, hoping the shock would break the corrosion.
The nut came off no problem! Well, there was a problem, it was stuck on the allen bit..
I clamped the bit in the vice and threaded some rod into the nut, then pull on the rod until the nut came free. I had to do this with every one. Thankfully I wear glasses so rather than stabbing myself in the eye all I did was scratch a lens instead when they finally let go (sob!). Eventually..
Much levering and heat gunning proved the clamps weren't budging. I even went for a ride like this in the hope the extreme heat would make the clamps expand and let go.. They were stuck. Power tool time now.
Thank goodness for the Dremel tool with a cutting blade, how else would I destroy so much stuff so quickly??
Even this didn't persuade the clamp to come off. non-powered heavy things now.
At this stage it is quite clear that complete destruction is the only way to get these clamps off.
That's better! I'm trying to fit new valves and I'm already 2 days down just getting the exhaust off.. Right, strippy time.
**Step 2 - Getting the crap out of the way**
I had considered fitting a new cam chain but the tensioner was far from fully extended so I decided against it. Chains are about £90 so I wasn't unhappy about this.
Getting somewhere now!
If you want instructions on how to strip all this nonsense away to get to the cam cover then have a look at my valve clearance guide.
**Step 3 - Get the head off**
Firstly wrestle that blasted exhaust out of the exhaust ports, it will be well stuck.
I undid the bolt under the motor which holds the exhaust in place and also the two hangers for the end cans, and then gradually wiggled the whole system up and down until it finally worked free. There was a lot of corrosion, as can be seen from the white powder that was falling out:
Eventually..
Yuck. Just in case the head was ever going to see active service again Dad insisted on plugging the inlets, I don't know why..
Next up remove the banjo bolt for the oil feed from the rear of the head.
And then remove the caps that cover the big bolts that secure the frame to the head, just the one either side.
And then undo the allen nuts inside the head! Helpfully marked out here by a couple of bits, god help you if you don't have proper bits..
Don't forget the little long ones on the chain side!
Naturally all the crap around the water pipe fell into the head yet again, such a poor design. With all the nuts and side bolts removed simply pull the head up and off!
Now we're in business! Compare the valves in the old head to those in the replacement and you really can see how far they have receded, particularly the one in the centre of the three inlets. Old head:
New head:
The only problem is it's silver and not black but that was no problem. Also a quick look at the bores shows the honing marks are still very visible so why does she drink so much oil, 3 litres in 2000 miles is surely unacceptable??
And one last pic, good work me!
**Step 4 - Make it nice and stop it being silver**
The new head literally looked like it had been taken off the TDM and then shipped straight to me. So, where's my safety razor..
That's better! After this I scrubbed the outside with a toothbrush and some washing up liquid (not pictured) in an attempt to de-grease it which I'm not sure was very successful considering the way the paint chipped off later during installation. Anyway, where's my special black paint (£6.29 from Euro Car Parts, more dosh gone!)..?
I masked the ports with tape that I definitely didn't borrow from work, not at all. You can use any masking tape you like.
Having never painted anything before I thought this went very well indeed. Several thin coats with drying time between them as per the instructions really seemed to work a treat, I didn't even get too much round the cam half moon thingies.
**Step 5 - Slap it on**
Installation is the reverse of removal except for the timing bit so you should find this pretty easy. The only real downer is you'll have to spend yet more hard earned on a head gasket, £62.89 in my case..
I also spent another £12.65 on some Chinese carb rubbers because the old ones were cracking up. I was somewhat wary of these but they were actually an excellent fit, recommended!
I also did a bit more painting, this time with the cams removed so I could mask off a flat surface. I'm not sure why I didn't do that in the first place because the cams have to be removed to fit the head..?? So, basically just slide it all on the same way the old one came off.
Tighten it up to the spec and and in the pattern that the manual states (I can't remember exactly)..
And put all the valve gear in place. Easy peasy. Again if you want better instructions with that check out the valve clearance guide linked above.
Be sure to check the clearances at this point and adjust the accordingly. Some of the clearances in my new head were out and of course that meant replacing the shims but happily I found all the necessary ones either in the old head or by swapping them about.
I'd like to mention that I couldn't get the timing marks to line up straight with the top of the head, I could either have them like this:
Or like this:
I went with the second one, no damage has happened yet. I can only guess this is due to the stretched cam chain but the tensioner suggested it didn't need one.. She still goes well enough anyway so I don't really care. Button her up!
**Step 6 - Replace the silly aluminium clamps with something more suitable**
Two piece Kawasaki clamps ahoy!
These are ZZR1100 clamps, apparently GPZ900s and ER-5s use the same part number but these were the cheapest (£15.47). Neat eh? So with that all done put her back together and go for a test ride
**Step 6 - SUPER FUN BONUS ROUND**
Wassiss?
Petrol pouring out the carb overflow whenever running or the tap is put on prime. You cheeky little minx. Right, off with the carbs again..
A piece of dirt stuck in the float needle seat, right where it really didn't need to be. I can only guess it found its way there while the carbs were off and being carried about. There was also a fair amount of rust found in the float bowls, this led to a rather strange activity of taking the tank off and sloshing it round upside down so that all the rust from inside could come out the cap and into some kitchen roll acting as a filter paper.
Right, with the carbs cleared out now you can go for a test ride.
Success! Easy innit? Now here's hoping it'll do many trouble free miles, at least until the tank rots through.
I'm going to keep this short because the last thing the Internet needs is another fawning Michelin review - these tyres are great. I bought a 100/90-18 V rated example for the front of my K100 for a mere £59, I knew it'd probably be pretty good because it seems you can't go wrong with Michelin but by golly it really was the best tyre I've had on there. Firstly you get lots of tread, as witnessed on my dad's GS750 (he bought them after I wouldn't shut up about mine!):
This may have contributed to a slight twitchiness when new but that soon disappeared leaving a tyre with great dry grip and I never had a moment's concern in the wet either. My only reservations about it were that Michelin say it can't take much more weight than it might see with me (85kg with kit maybe?) and the K100 (264kg but how much on the front wheel I don't know) but at 38 PSI it coped just fine, not even wearing strangely. I also thought that there was no way that such a soft grippy tyre could last well but it just kept going and going until I finally gave in at 8196 miles which is way beyond the 5500-6000 that I normally get on the K. Even then it was far from the cords, only touching the occasional wear marker:
Only once heavily worn did the front end wobble come back during engine braking from 60-50MPH which was so very prevalent with a pair of worn ContiGo!s and with a Metzeler Lastertec. For a bias ply tyre they Activ is fantastic, I would consider it to be the same kind of revolution that the Pilot Road 3 brought to the radial market.
10/10 superb, even though they're now quite a lot more expensive.
A short while ago my Kawasaki became 3 years old and needed its first MOT. I haven't seen any long term ownership reviews of the bike written by anyone else and there may also be renewed interest in this model since the Z125SL has now been released in the UK so I thought I'd write one myself. I'll start from the front and work my way along, for reference the mileage at the time of these pictures was 19169..
Front wheel - too small, too twitchy, always feels like the bike is looking for somewhere to crash. Hate it. Poor tyre choice in 100/80-17 too though pretty sure 110/70 would fit which allows proper modern radials to be fitted.
Front brake - works okay until it gums up, which is at least annually and if you really want to keep it working then you'll be cleaning out the seal grooves before winter and again after winter. Worse than anything else I've owned in this respect. Also seems to eat brake pads compared to anything else I've had, if a set last 15K they've done very well.
Front suspension - hateful, incredibly soft below 15MPH and then solid with hydraulic lock above 25MPH, little wonder YSS and even Ohlins supply upgrade kits for the internals. Don't appear to rebound to follow road imperfections, just rattles over everything providing little mechanical grip. Also the paint flakes off after a couple of winters and the chrome really suffers too.
I've never seen anything quite like this.
Headlight - can't say, I've never experienced the original.
Front mudguard - too small, obviously. Works after a fashion.
Steering head bearings - notchy by about 12K, not yet replaced.
Koso DB-02R dash - not standard fitment (obviously) but actually really impressive, perfectly reliable and it hasn't even fogged up inside. Well done Koso.
Mirrors - can't see a lot out of them, my elbows are in the way. They also fill up with water in the rain which then pisses out all over my hands when I pull the bars straight. No joke.
Horn - perfectly average, no particular qualms.
Frame - Seems stiff enough, does really threaten to speed wobble at 80MPH or above but hasn't quite gone through with it just yet. This might be due to the notchy head bearings. Could use more rake on the front I suspect. Also the bike already had rust on the welds when I bought it at one year old and 3200 miles, which obviously didn't get any better:
The styling of the whole chassis means nothing can be carried so the bike is useless for anything more than days out or commuting. The Asian version of this bike (and the Z125SL) have rear footpeg hangers that bolt on so you can fit decent luggage racks at those bolt locations, the Z250SL has them welded to the frame so no such luck. The right side hanger on my bike has also been bent in two crashes on that side where the exhaust has pushed it inwards, technically the bike is probably scrap now. Never mind!
Engine - punchy in the midrange, gasping at the upper end of the revs and frankly I don't believe Kawasaki when they suggest peak torque is at about 8K RPM, I think it's better at 6K. Perfectly reliable so far though the valve clearances have closed up. After reading about Yamaha MT-07 riders having coolant pipes burst and other such problems this seems like a fine unit. Very little vibration but what there is seems very busy, likely due to being scattered by the balancer - I prefer a straight uppy downy vibration rather than all around like this. It can also have a really good go at shaking the chain off the sprockets as you would expect from an injected 250 4 stroke single with a compression ratio of 11.3:1 and a rear wheel that doesn't have any cush rubbers. No really, it doesn't. This bike is cheap. Also the alloy furs up in a way I have never seen before:
It reminds me of one of those "grow your own crystal" kits. Pathetic.
Gearbox - crunchy and heavy but that may be due to my insistence on using cheap car oil. Hasn't missed a change or slipped out of gear yet. 6 of them is too many when there is no power band to stay in (though I understand they have to follow fashion), combined with the crunchiness I actually find it a bit of a hindrance to fast town work and it's a nightmare to try and change down from top to first in a hurry. The change becomes particularly bad when the chain is dry or loose, which happens quite often with an open chain.
Clutch - light, linear bite, no hint of wear or slippage so far. No drag, no overheating, nothing bad to say about it.
Fuelling - snatchy at low revs, feels very slightly lean the rest of the time but when the bike does 85MPH and averages 85MPG then I'll live with it. The lack of cush rubbers is probably the real reason it seems so bad. Also the engine braking becomes significantly less below 3K RPM when the injector comes back in which is quite annoying because you then have to brake harder to stop where you were expecting to stop.
Fuel tank - 11L is too small though the bike will do about 180 miles before needing to be filled up. No signs of rust anywhere yet which is a pleasant surprise when compared to the state of the rest of the machine.
Seat - Not as uncomfortable as it looks, which isn't saying a lot. Grippy, works okay I guess. Purgatory after ~120 miles but what seat isn't?
Side stand - pretty much perfect, the prong is in exactly the right place where I can find it even in the dark and the angle is fine, very secure.
Centre stand - non-existent, a ridiculous omission for a road going motorcycle. It's going to make the steering head bearing job a lot more difficult than it needed to be.
Rear suspension - hateful, barely sags under my 70kg and again is solid with hydraulic lock above about 20MPH. Doesn't rebound to follow road imperfections, doesn't do much of anything. Has barely softened so far. I keep it on the third/middle setting for preload because I can't adjust it while the shock is attached to the bike, even with the special tools that Kawasaki provide in the tool kit - pathetic design. Also had to free up the linkage at ~7400 miles as every bush was absolutely solid. Currently amazed the whole lot doesn't slop about already. On the plus side, no leaks yet!
Swingarm - seems okay so far, no bearing demise to report though I bet there's sod all grease on them from the factory. No rust problems that I am aware of. An interesting design quirk of this machine is that there is no separate torque arm, just a nub on the inside of the swingarm which holds the brake carrier in place. This works a treat on the CBX250RS with a rear drum brake because the plate stays in the centre of the wheel, but with a disc brake you have to line up the brake carrier, get the caliper over the disc and keep the spacer in the wheel while slotting the whole lot onto the nub. Rear wheel installation is incredibly difficult and awkward on this bike.
Rear wheel - no cush rubbers!! The sprocket just bolts straight into the wheel. 'Nuff said.
Exhaust - rotten after 2 years, falling off after 2.5 years so had to replace it for the MOT. The downpipe to the can is stainless which is excellent, shame the actual muffler is so quick rot. Quite like the sound of the original setup though.
Rear mudguard - I'd love one, so fed up of getting a wet back from all the spray off the rear wheel. Honestly come on Kawasaki.
Rear brake - mushy and vague, likely because the footpegs are rubber mounted so the whole lot moves about. A ridiculous design decision, you surely wouldn't rubber mount the front brake lever. Also gums up quite quickly but not as bad as the front brake, figure a yearly clean out.
Number plate hanger - probably the worst bit of the bike, flapped around a lot when I first bought the bike and has only become looser with time. I've tried shimming out the fittings but it just doesn't work very well as a design. Try harder next time please.
Overall fittings and finishings - atrocious quality.
Electrics - totally reliable except that one time a wire almost rotted off the ignition switch, once soldered up everything has been fine even through constant wet conditions including fording rather deep floods. Probably the best thing about the bike after the motor. I suppose I did have to replace the front brake light switch as the original was full of verdigris, again the cost cutting went a little too far but the fix was easy - fit a proper Nissin switch.
So, overall you're probably thinking I hate this bike but that isn't true. It's nowhere near the modern CBX250RS I was hoping for but it is quite useful and has given sterling service for the past 2 years getting me to work and back with no major hassles and nothing has outright failed or fallen off. Reliability counts a lot for something that needs to work and the 250SL has it. Overall I prefer my old CB250 though, I could bungee stuff to the rack or carry a big top box or strap a dry bag to the rear half of the seat, and yet it also got me to work every day just the same. Sure it tops out at 70MPH and only does 80MPG but it has better comfort, better brakes, much nicer suspension and doesn't feel like it's always looking for the nearest ditch for a nice lie down along with far superior quality of materials and finish. If Kawasaki had the imagination to put this motor into a useful chassis I think they'd be on to a winner but I bet actually no one would buy it then either. Ho hum!
Maintenance log since purchase:
3200 miles - bought the thing.
4507 miles - the original chain and front sprocket were absolutely worn out (!). Replaced.
5917 miles - replaced front brake light switch with another I had sitting around.
7173 miles - wire very nearly rotted off the ignition switch. Bodged back together.
7374 miles - original rear TT900 nearly down to the cords, replaced with Mitas MC25 (horrible).
7374 miles - unseized and rebuilt rear suspension linkage.
8095 miles - clean out front caliper, tried to get away without doing a full strip. Didn't work.
8159 miles - new front brake pads, EBC pads worn out and cracking.
8293 miles - clean out and rebuild rear brake caliper.
8470 miles - valve clearance check, all in spec.
10128 miles - clean out and rebuild front caliper again.
10174 miles - clean out and rebuild rear caliper. Again.
10353 miles - new front sprocket. It really eats them.
13124 miles - another rear tyre, Avon Streetrunner this time. It has quite an appetite for rear tyres.
14507 miles - new chain. It seems to eat these as well.
15140 miles - finally fitted a new front tyre, original TT900F finished.
15280 miles - clean out and rebuild the front caliper yet again.
18574 miles - new exhaust muffler, original literally falling off due to rot.
18809 miles - yet another rear tyre, this time a Michelin Pilot Street Radial. Hopefully this one lasts.
18809 miles - new rear brake pads, originals rotting and friction material falling off.
19473 miles - valve clearance check, all four valves need re-shimming.