All TRXs and TDM850s built before 1997 have a problem with the heads of their inlet valves being too soft so they gradually deform and close up the valve clearance. After around 30,000 miles this speeds up because there is less metal in the area and at 37K I gave up on fitting ever thinner shims and looked into replacing the valves. Unfortunately the valves are around £60 each and I don't have a spring compressor small enough so I went with the easier alternative of swapping the whole head with that of a later TDM which happened to also only cost £155 or right about half that of 6 new inlet valves. So, here we go..
**Step 1 - Removing the exhaust**
This should be easy, I've previously owned bikes where the difficulty was in keeping the exhaust held on. The TRX is different though, people on the forum suggesting that the clamps corrode/weld themselves into place and that getting the exhaust to come off is just generally a right pain. And so it was. From the outside they looked okay:
The nuts are weird, long socket allen type. I got a special bit and hammered it in, hoping the shock would break the corrosion.
The nut came off no problem! Well, there was a problem, it was stuck on the allen bit..
I clamped the bit in the vice and threaded some rod into the nut, then pull on the rod until the nut came free. I had to do this with every one. Thankfully I wear glasses so rather than stabbing myself in the eye all I did was scratch a lens instead when they finally let go (sob!). Eventually..
Much levering and heat gunning proved the clamps weren't budging. I even went for a ride like this in the hope the extreme heat would make the clamps expand and let go.. They were stuck. Power tool time now.
Thank goodness for the Dremel tool with a cutting blade, how else would I destroy so much stuff so quickly??
Even this didn't persuade the clamp to come off. non-powered heavy things now.
At this stage it is quite clear that complete destruction is the only way to get these clamps off.
That's better! I'm trying to fit new valves and I'm already 2 days down just getting the exhaust off.. Right, strippy time.
**Step 2 - Getting the crap out of the way**
I had considered fitting a new cam chain but the tensioner was far from fully extended so I decided against it. Chains are about £90 so I wasn't unhappy about this.
Getting somewhere now!
If you want instructions on how to strip all this nonsense away to get to the cam cover then have a look at my
valve clearance guide.
**Step 3 - Get the head off**
Firstly wrestle that blasted exhaust out of the exhaust ports, it will be well stuck.
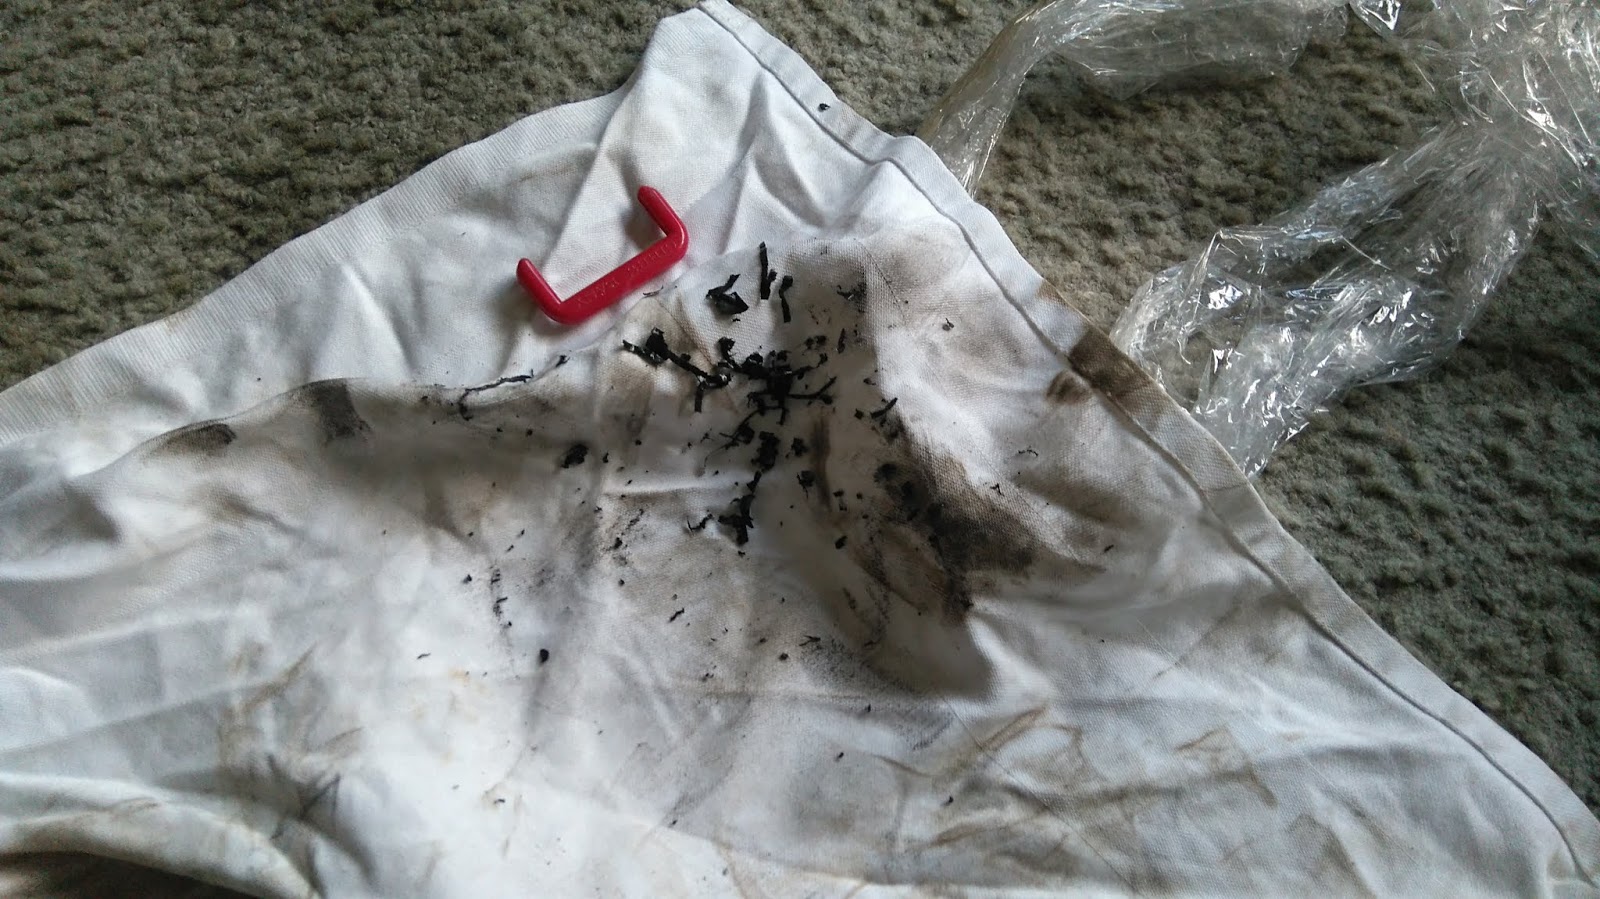
I undid the bolt under the motor which holds the exhaust in place and also the two hangers for the end cans, and then gradually wiggled the whole system up and down until it finally worked free. There was a lot of corrosion, as can be seen from the white powder that was falling out:
Eventually..
Yuck. Just in case the head was ever going to see active service again Dad insisted on plugging the inlets, I don't know why..
Next up remove the banjo bolt for the oil feed from the rear of the head.
And then remove the caps that cover the big bolts that secure the frame to the head, just the one either side.
And then undo the allen nuts inside the head! Helpfully marked out here by a couple of bits, god help you if you don't have proper bits..
Don't forget the little long ones on the chain side!
Naturally all the crap around the water pipe fell into the head yet again, such a poor design. With all the nuts and side bolts removed simply pull the head up and off!
Now we're in business! Compare the valves in the old head to those in the replacement and you really can see how far they have receded, particularly the one in the centre of the three inlets. Old head:
New head:
The only problem is it's silver and not black but that was no problem. Also a quick look at the bores shows the honing marks are still very visible so why does she drink so much oil, 3 litres in 2000 miles is surely unacceptable??
And one last pic, good work me!
**Step 4 - Make it nice and stop it being silver**
The new head literally looked like it had been taken off the TDM and then shipped straight to me. So, where's my safety razor..
That's better! After this I scrubbed the outside with a toothbrush and some washing up liquid (not pictured) in an attempt to de-grease it which I'm not sure was very successful considering the way the paint chipped off later during installation. Anyway, where's my special black paint (£6.29 from Euro Car Parts, more dosh gone!)..?
I masked the ports with tape that I definitely didn't borrow from work, not at all. You can use any masking tape you like.
Having never painted anything before I thought this went very well indeed. Several thin coats with drying time between them as per the instructions really seemed to work a treat, I didn't even get too much round the cam half moon thingies.
**Step 5 - Slap it on**
Installation is the reverse of removal except for the timing bit so you should find this pretty easy. The only real downer is you'll have to spend yet more hard earned on a head gasket, £62.89 in my case..
I also spent another £12.65 on some Chinese carb rubbers because the old ones were cracking up. I was somewhat wary of these but they were actually an excellent fit, recommended!
I also did a bit more painting, this time with the cams removed so I could mask off a flat surface. I'm not sure why I didn't do that in the first place because the cams have to be removed to fit the head..?? So, basically just slide it all on the same way the old one came off.
Tighten it up to the spec and and in the pattern that the manual states (I can't remember exactly)..
And put all the valve gear in place. Easy peasy. Again if you want better instructions with that check out the valve clearance guide linked above.
Be sure to check the clearances at this point and adjust the accordingly. Some of the clearances in my new head were out and of course that meant replacing the shims but happily I found all the necessary ones either in the old head or by swapping them about.
I'd like to mention that I couldn't get the timing marks to line up straight with the top of the head, I could either have them like this:
Or like this:
I went with the second one, no damage has happened yet. I can only guess this is due to the stretched cam chain but the tensioner suggested it didn't need one.. She still goes well enough anyway so I don't really care. Button her up!
**Step 6 - Replace the silly aluminium clamps with something more suitable**
Two piece Kawasaki clamps ahoy!
These are ZZR1100 clamps, apparently GPZ900s and ER-5s use the same part number but these were the cheapest (£15.47). Neat eh? So with that all done put her back together and
go for a test ride
**Step 6 - SUPER FUN BONUS ROUND**
Wassiss?
Petrol pouring out the carb overflow whenever running or the tap is put on prime. You cheeky little minx. Right, off with the carbs again..
A piece of dirt stuck in the float needle seat, right where it really didn't need to be. I can only guess it found its way there while the carbs were off and being carried about. There was also a fair amount of rust found in the float bowls, this led to a rather strange activity of taking the tank off and sloshing it round upside down so that all the rust from inside could come out the cap and into some kitchen roll acting as a filter paper.
Right, with the carbs cleared out
now you can go for a test ride.
Success! Easy innit? Now here's hoping it'll do many trouble free miles, at least until the tank rots through.