A while ago I fitted some Showa forks from a K75 to my K100RS. The original Brembo forks have stanchions which are 41.3mm in diameter while the Showas are only 41mm, while I hoped the original yokes would be able to close up enough to clamp the new smaller forks it turned out they were merely pinching the stanchions and it wasn't fully trustworthy - the forks had a few goes at sliding up the yokes despite the pinch bolts being stupidly tight. So I had to fit some yokes meant for the Showa forks.. The other upside to this is that the K75 doesn't have rubber mounts for the handlebars, which make the handling decidedly vague. So, here we go..
Step 1 - get some Showa yokes.
I actually ended up sourcing the top and bottom yokes from different places, the top came from an old bloke who had fitted a nice vague rubbery K100 top yoke to his K75 (which doesn't clamp his forks and gives vague handling, some strange folk out there) and the lower yoke from a standard breaker. Showa yokes are easy to tell apart from their standard sized cousins because they have SHOWA written into the underside of the casting and are black, the older ones being silver. Also make sure you get the big knurled adjuster thing and the little threaded tube/big nut thing in the top with your new bottom yoke because the thread on the top of the stem is different to a K100 and your old stuff won't fit.
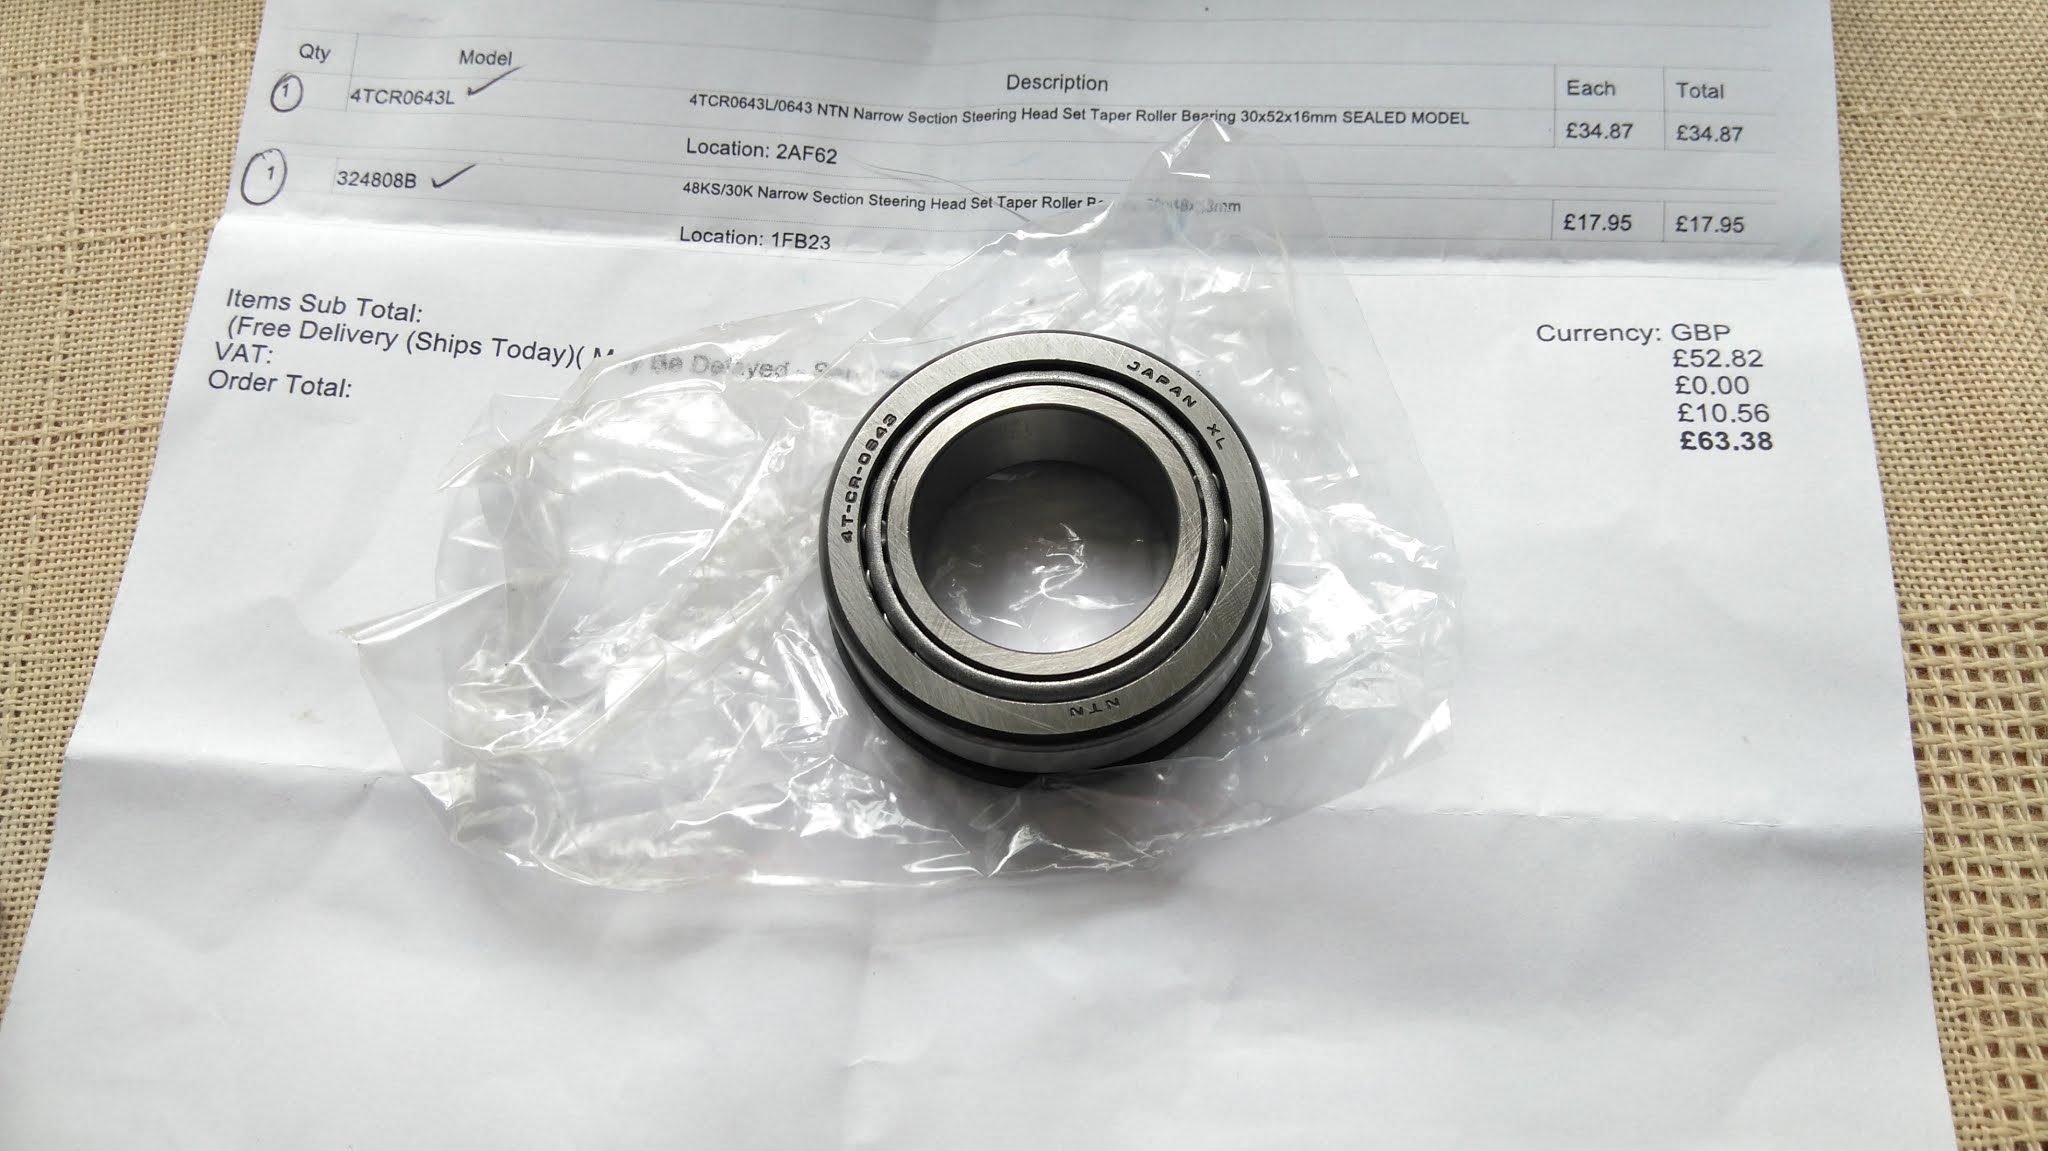
I also treated myself to some Koyo 320/28JRRS rubber sealed taper roller bearings and some new semi-sintered "V-Series" EBC pads in the hope of maybe having some actual brakes. Didn't work. Anyway.. Next step is to get the old bearings off the new yokes, because their matching cups are still in different bikes somewhere. BMW provide little cups to protect the bearings, I won't need these because I have fancy modern rubber sealed thingers. Ha!
The top yoke actually has the taper roller fixed to the knurled adjuster doodad, which is weird. I was also confused as to how exactly I get the old bearing off without damaging the adjuster..
It turns out, after some googling and reading this post, that the holes are there so you can knock the bearings right off - genius!
Here we go then, special tools at the ready!
This isn't perfect because it does muller the protective cup somewhat but that can be quickly flattened out again. Japan could learn a thing or two about this!! The lower bearing is equally as easy, I just put the drift in the hole and then rained down on the floor a few times.
With the bearings knocked off the new yokes, the next step is to strip the front off the bike - I was tempted to fit the new bearings but they're best left in their boxes until needed. So.. Get the spanners out and say hello to the cat.
I decided to strip the fairing off, partly because I couldn't figure out how the clocks come off (which are bolted to the top yoke so have to be removed) and partly because I had other stuff to do (new injection hose). If you are just fitting new bearings/yokes then you can actually do this without removing the fairing, so long as you know what you're doing!
Here is how the clocks are bolted on:
To unbolt the clocks from the yoke you need to undo those two allen bolts that are looking straight at us in this picture, I honestly don't even understand what the threads and nylocs on the sides are for. If you were to leave the fairing in place I think you could get to those bolts if you removed the screen or even if you pull the whole top yoke off the forks you may be able to get to them with an allen key. This is not as bad as it sounds, pulling the whole top yoke off is the best way I've found to tighten the knurled adjuster!
One other reason for taking the fairing off was to fix a broken wire which stopped one of the horns from working, this got broken when I first took the bike to bits after buying it all the way back in 2014.. I knew I'd get round to it one day!
It'll be nice to not have it just make a pathetic squeak come MOT time. Anyway, onward with more disassembly!
The broken wires go to the hazard lights switch, those got pulled off when the bike was stolen back in 2017. Another thing to do.. Anyway, off with the top yoke!
I kept the handlebars and switchgear all together because, well, why take it to bits? Also the paint on the tank is already terrible so whatever.
Look at those rubber mounts. Awful. Stupid, even! The cat agreed.
With the top yoke off you might as well take the bottom one off too..
The old brake pads were also a bit worn down.
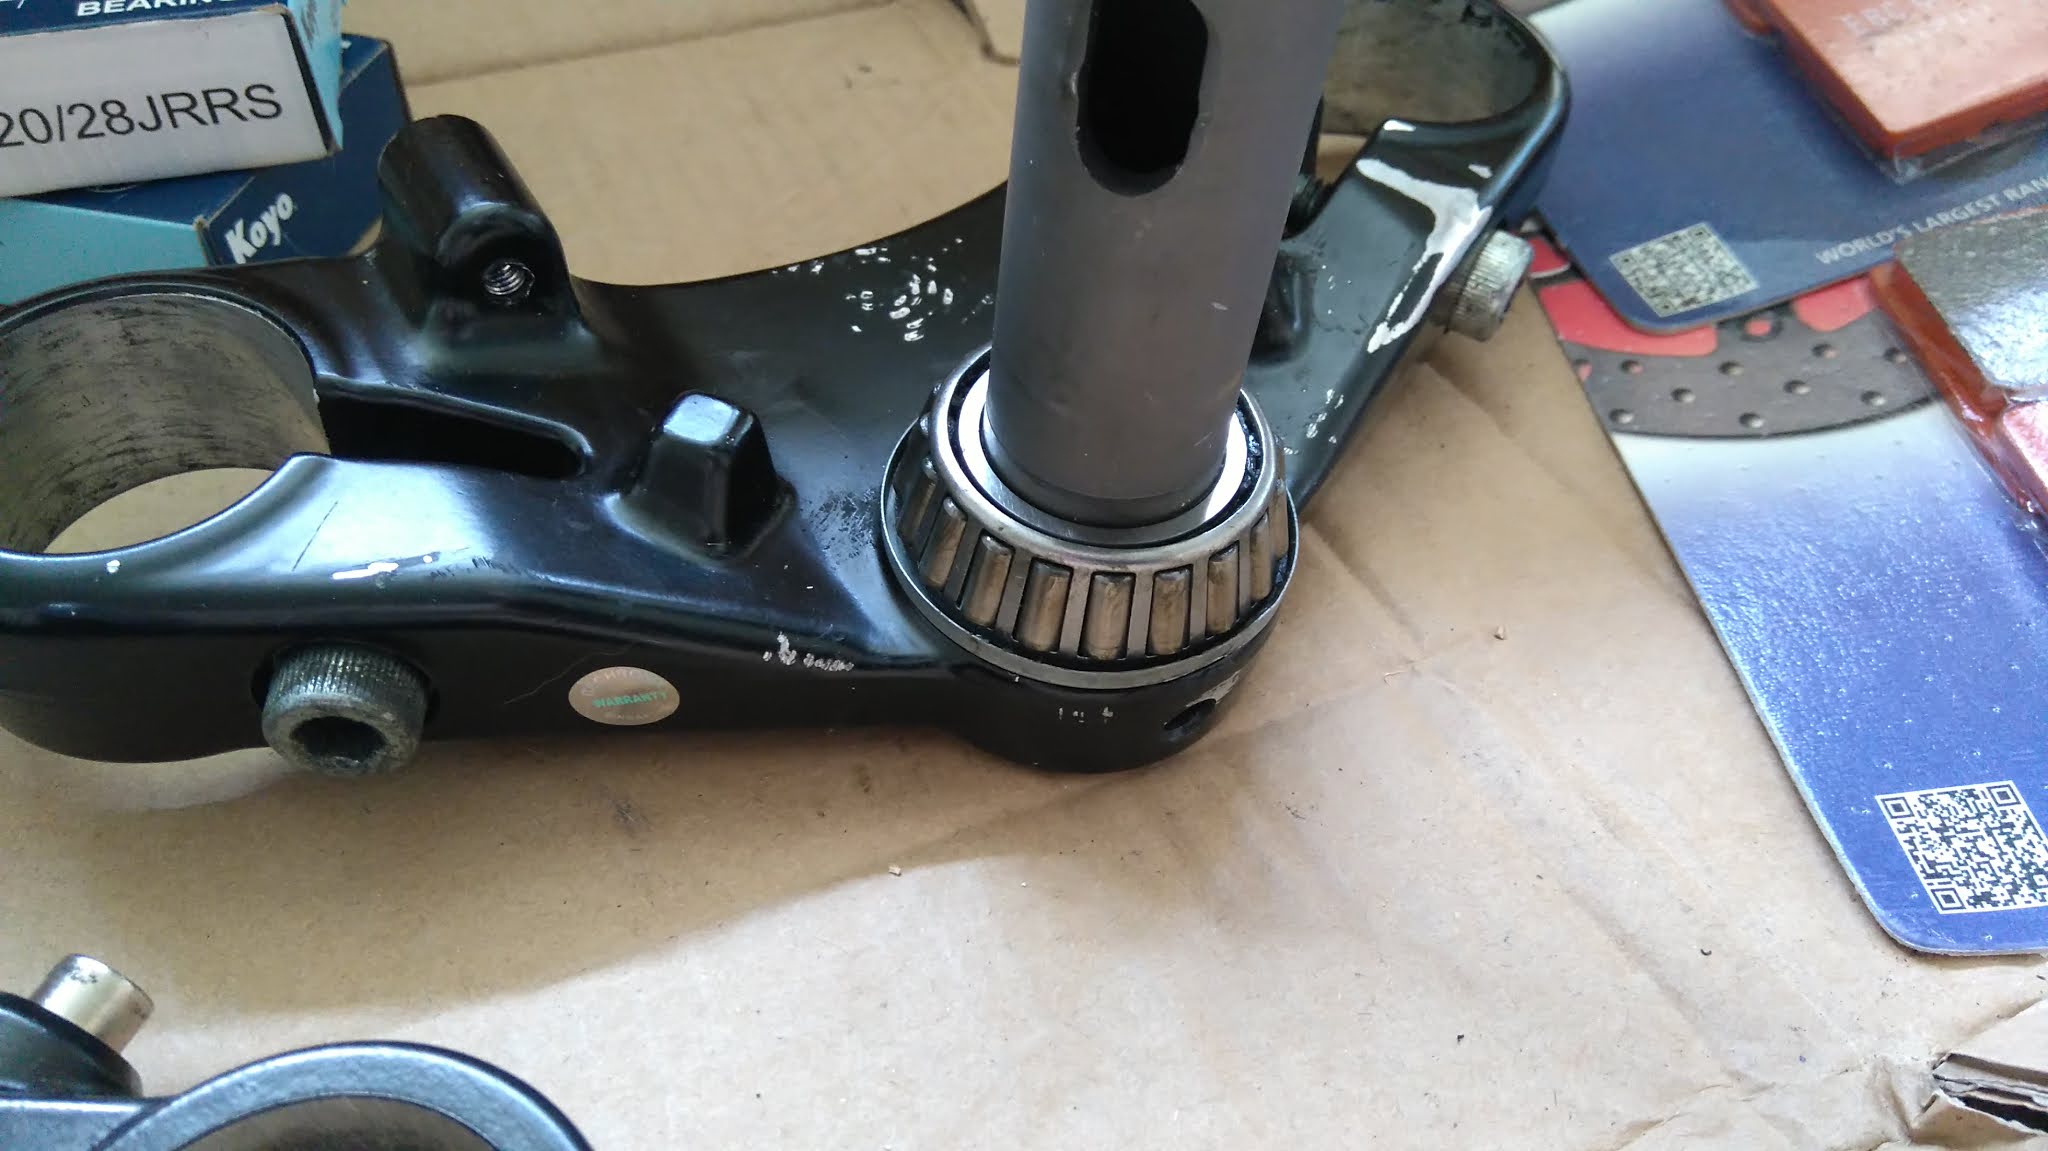
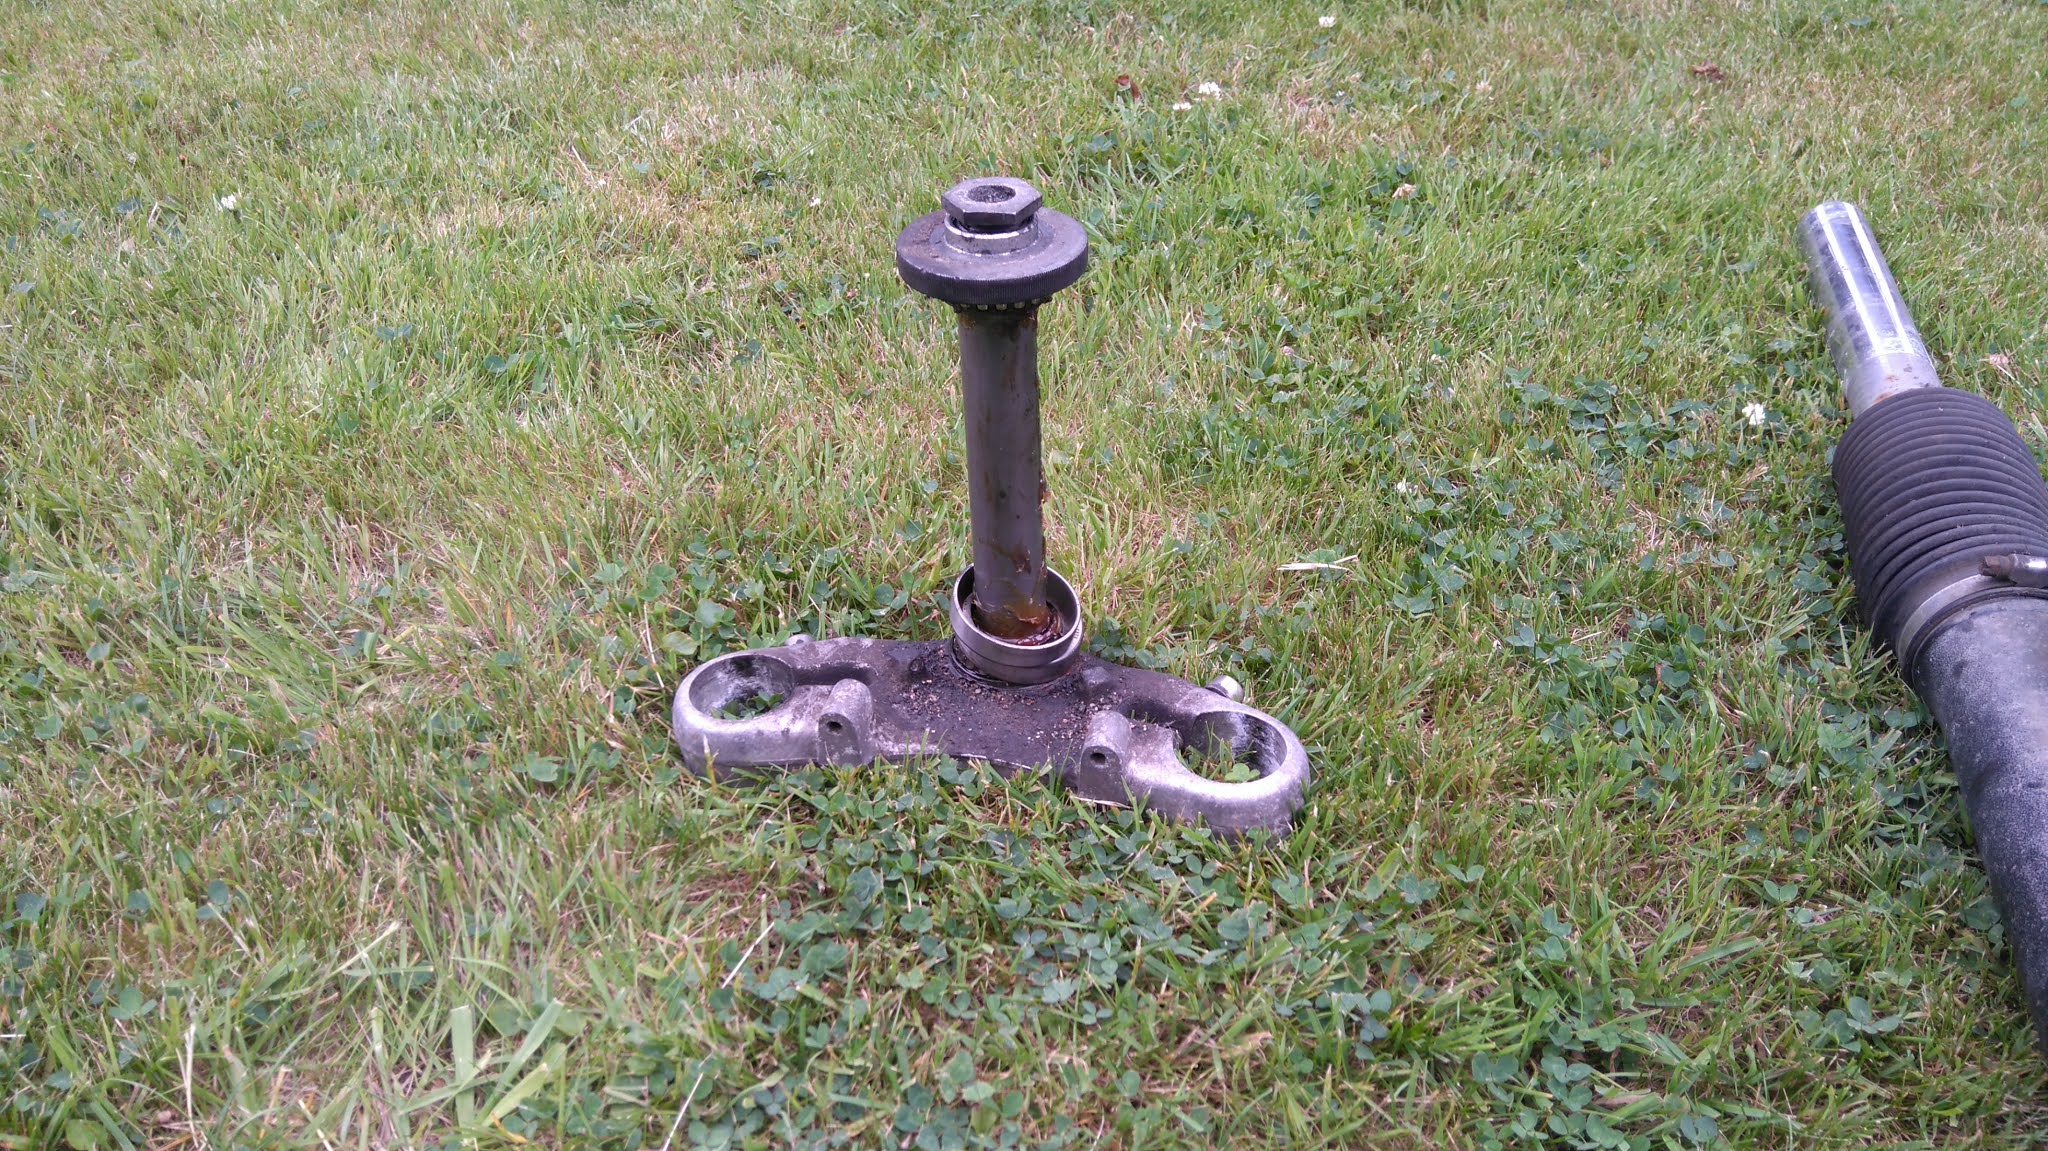
Moving swiftly on, this is the original knurled adjuster from my K100 - note the coarse thread. The thread on the "top nut" is also much more coarse than that on the K75 item. Notice also that this adjuster doesn't have the bearing on it unlike the K75 version, it's actually a very different setup and I was really starting to wonder if this was actually going to be a straight swap!
The bearing, sat in the top in a standard "Japanese" way.
The original bottom yoke, note the corrosion inside the clamp areas where there was a gap between the yoke and the forks!
And so, we have an near-empty headstock.
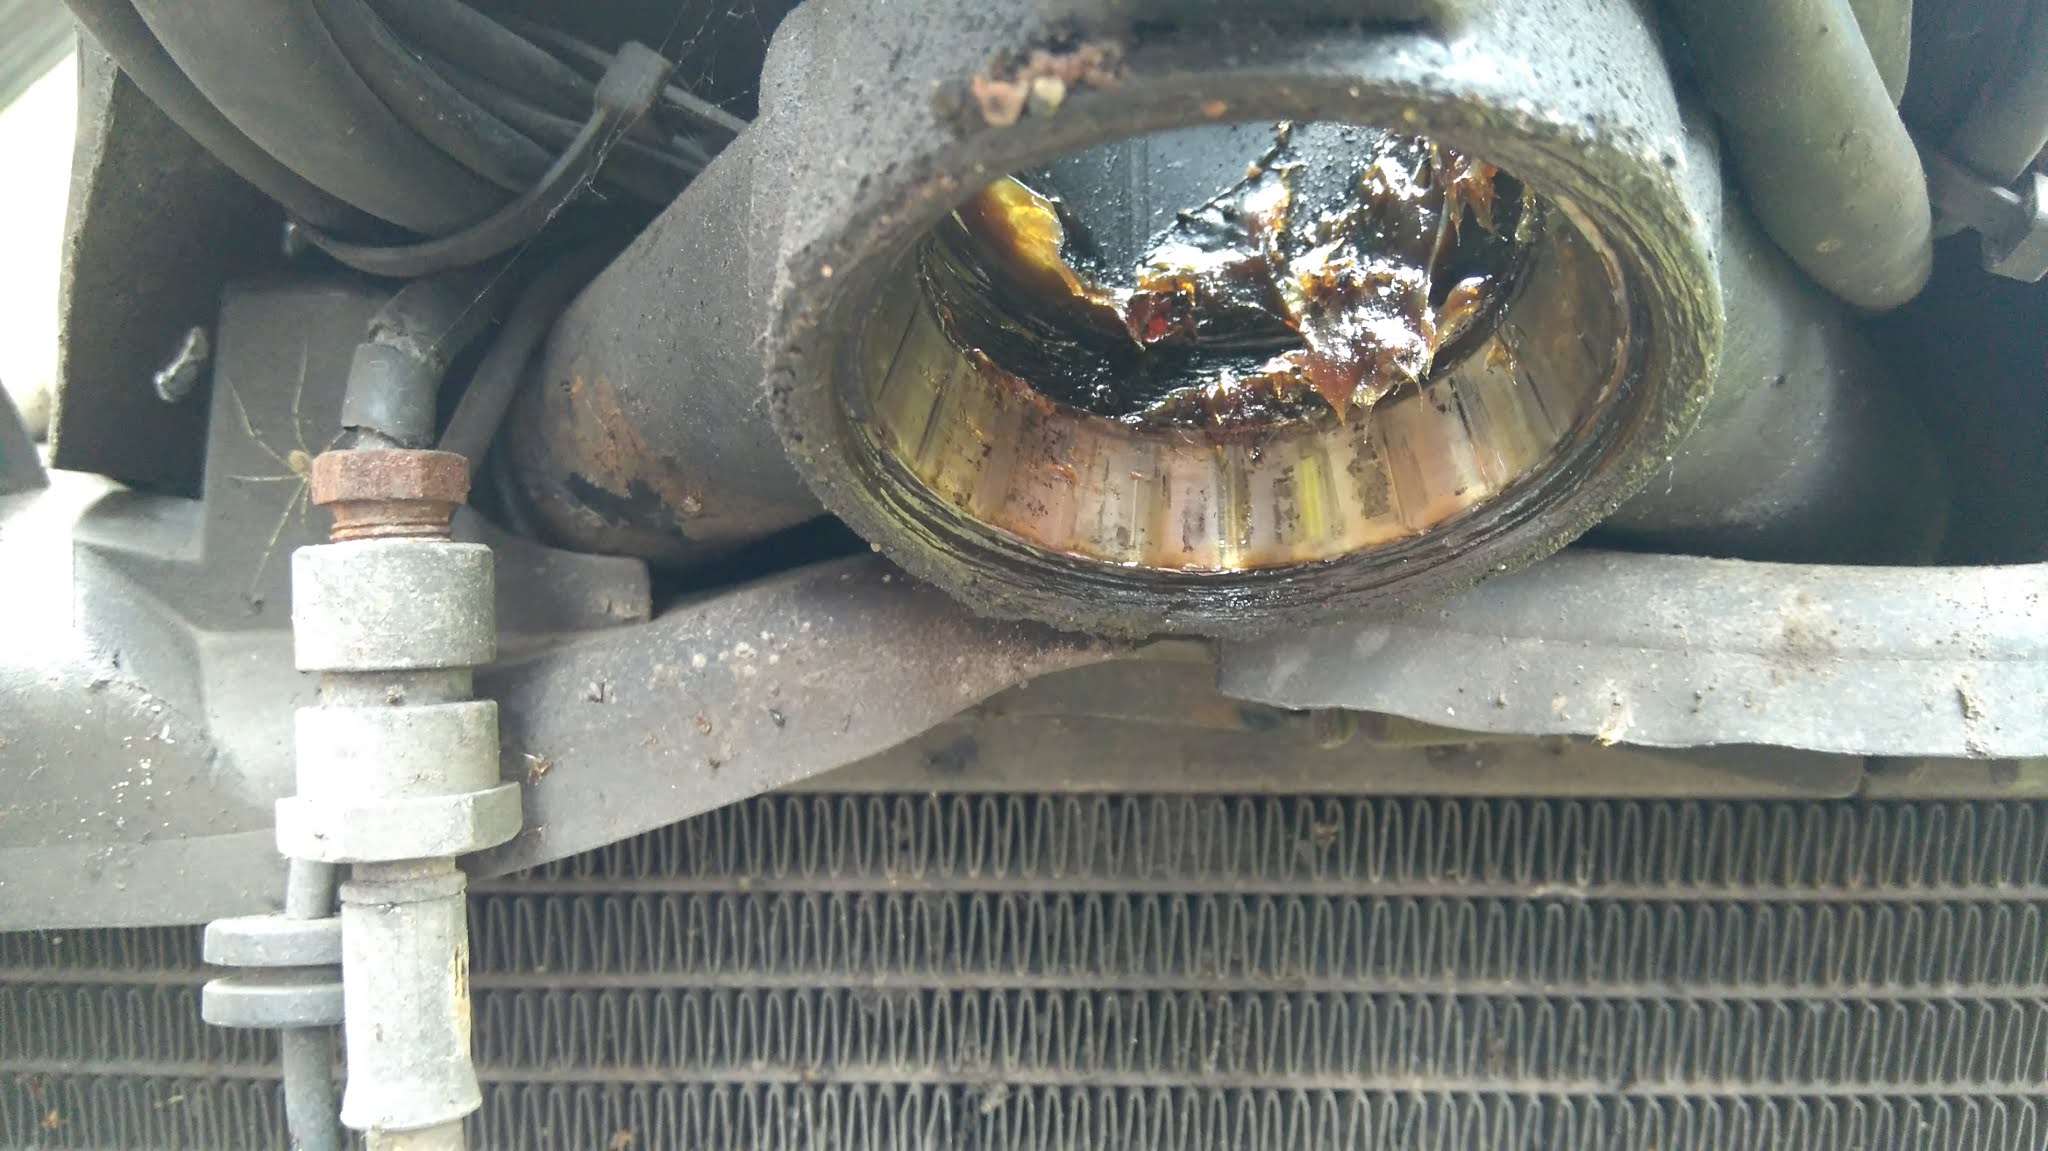
Notice that the bottom race is set slightly into the head, it is not flush. When fitting the new race make sure that it is knocked as far in as this otherwise you'll be forever tightening that knurled adjuster.
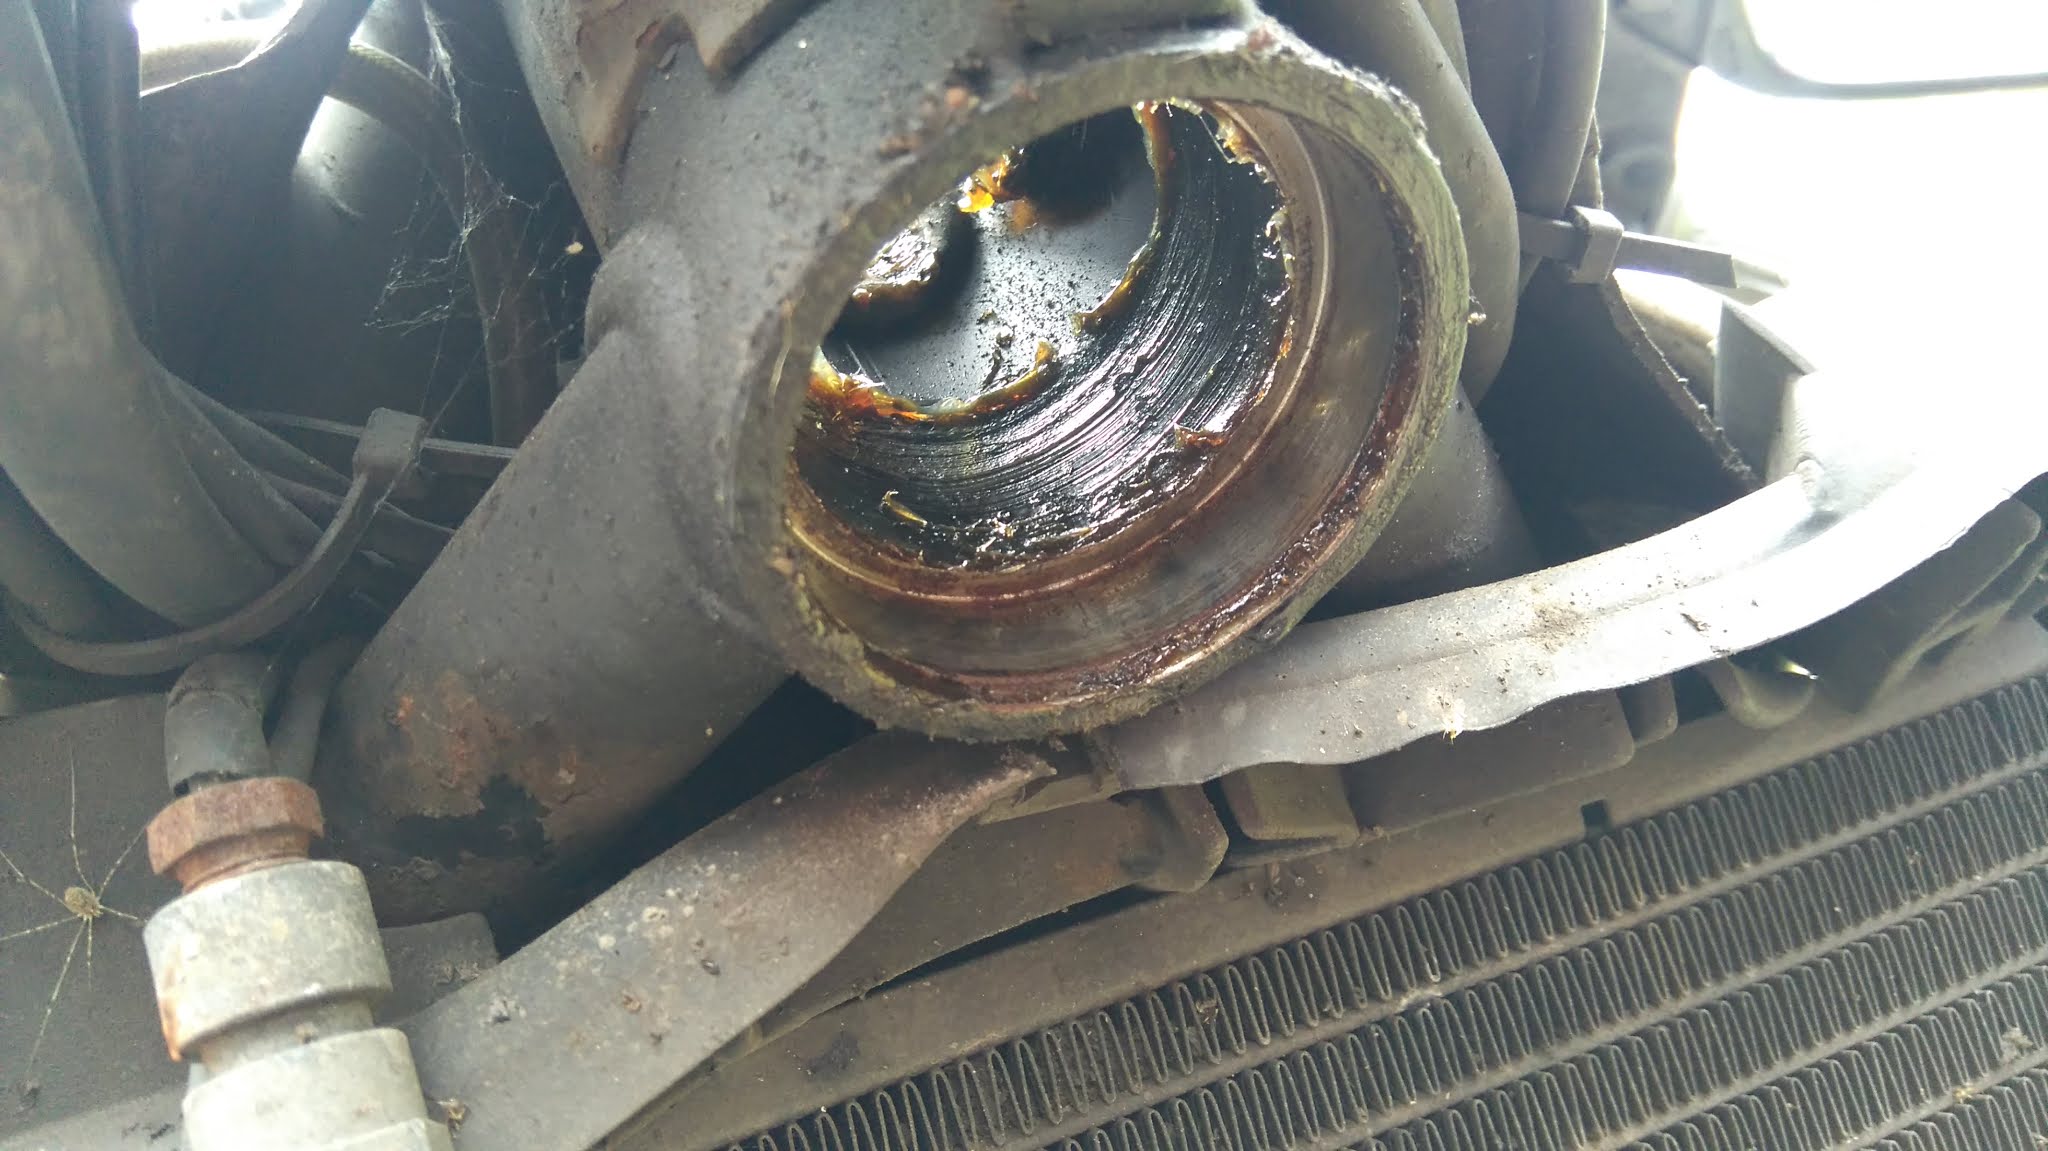
As a a little aside, this bike has had a decent notch in the straight-ahead position ever since I bought it. Received wisdom from the K100-forum is that this is almost always due to old grease having set in this position and not due to notches or wear in the bearings. This turned out to be completely true, the races cleaned up perfectly and I could not feel any imperfections in the old bearings. Bearings may be cheap and easy to replace but new grease is even cheaper! I was even tempted to leave the races and just fit the new roller bits but the originals were SKF and the new ones Koyo so they might not have matched.. Plus it'd be half a job. Right, special tools!
The races came out pretty easily, it seems BMW don't make their tolerances quite as tight as some Japanese manufacturers (the Kawasaki fought me all the way, write up coming soon).
With that done I got to experience the excitement of new bearings. But not just new bearings, new bearing technology advancements too! Behold the Koyo JRRS series..
I was a little concerned that the seal may make the bearings slightly larger in diameter and maybe not fit the headstock but it's not a problem. What is a problem is that these don't fit the protective cups and the holes that let me bash the old bearings off will let water and dirt into the bearing, behind the rubber seal.. D'oh. I filled the holes with grease upon reassembly, hopefully it'll be enough of a barrier. Of course if you have a normal bike that doesn't have those holes then these sealed bearings should be great.
So, races in the freezer and then carefully knock them into the headstock. Then smear with grease for protection. If you grind a small amount off the circumference of an old race you can use this to knock the new bottom race into the headstock. This trick also works with wheel bearings and anything else that is sunk into a hole.
Put the bottom yoke in the freezer, leave the roller out in the sun, and then knock the warm bearing onto the cold yoke with whatever you can find (I used a fork spring spacer from a TRX850 and a sprocket on top to hammer the bearing on!).
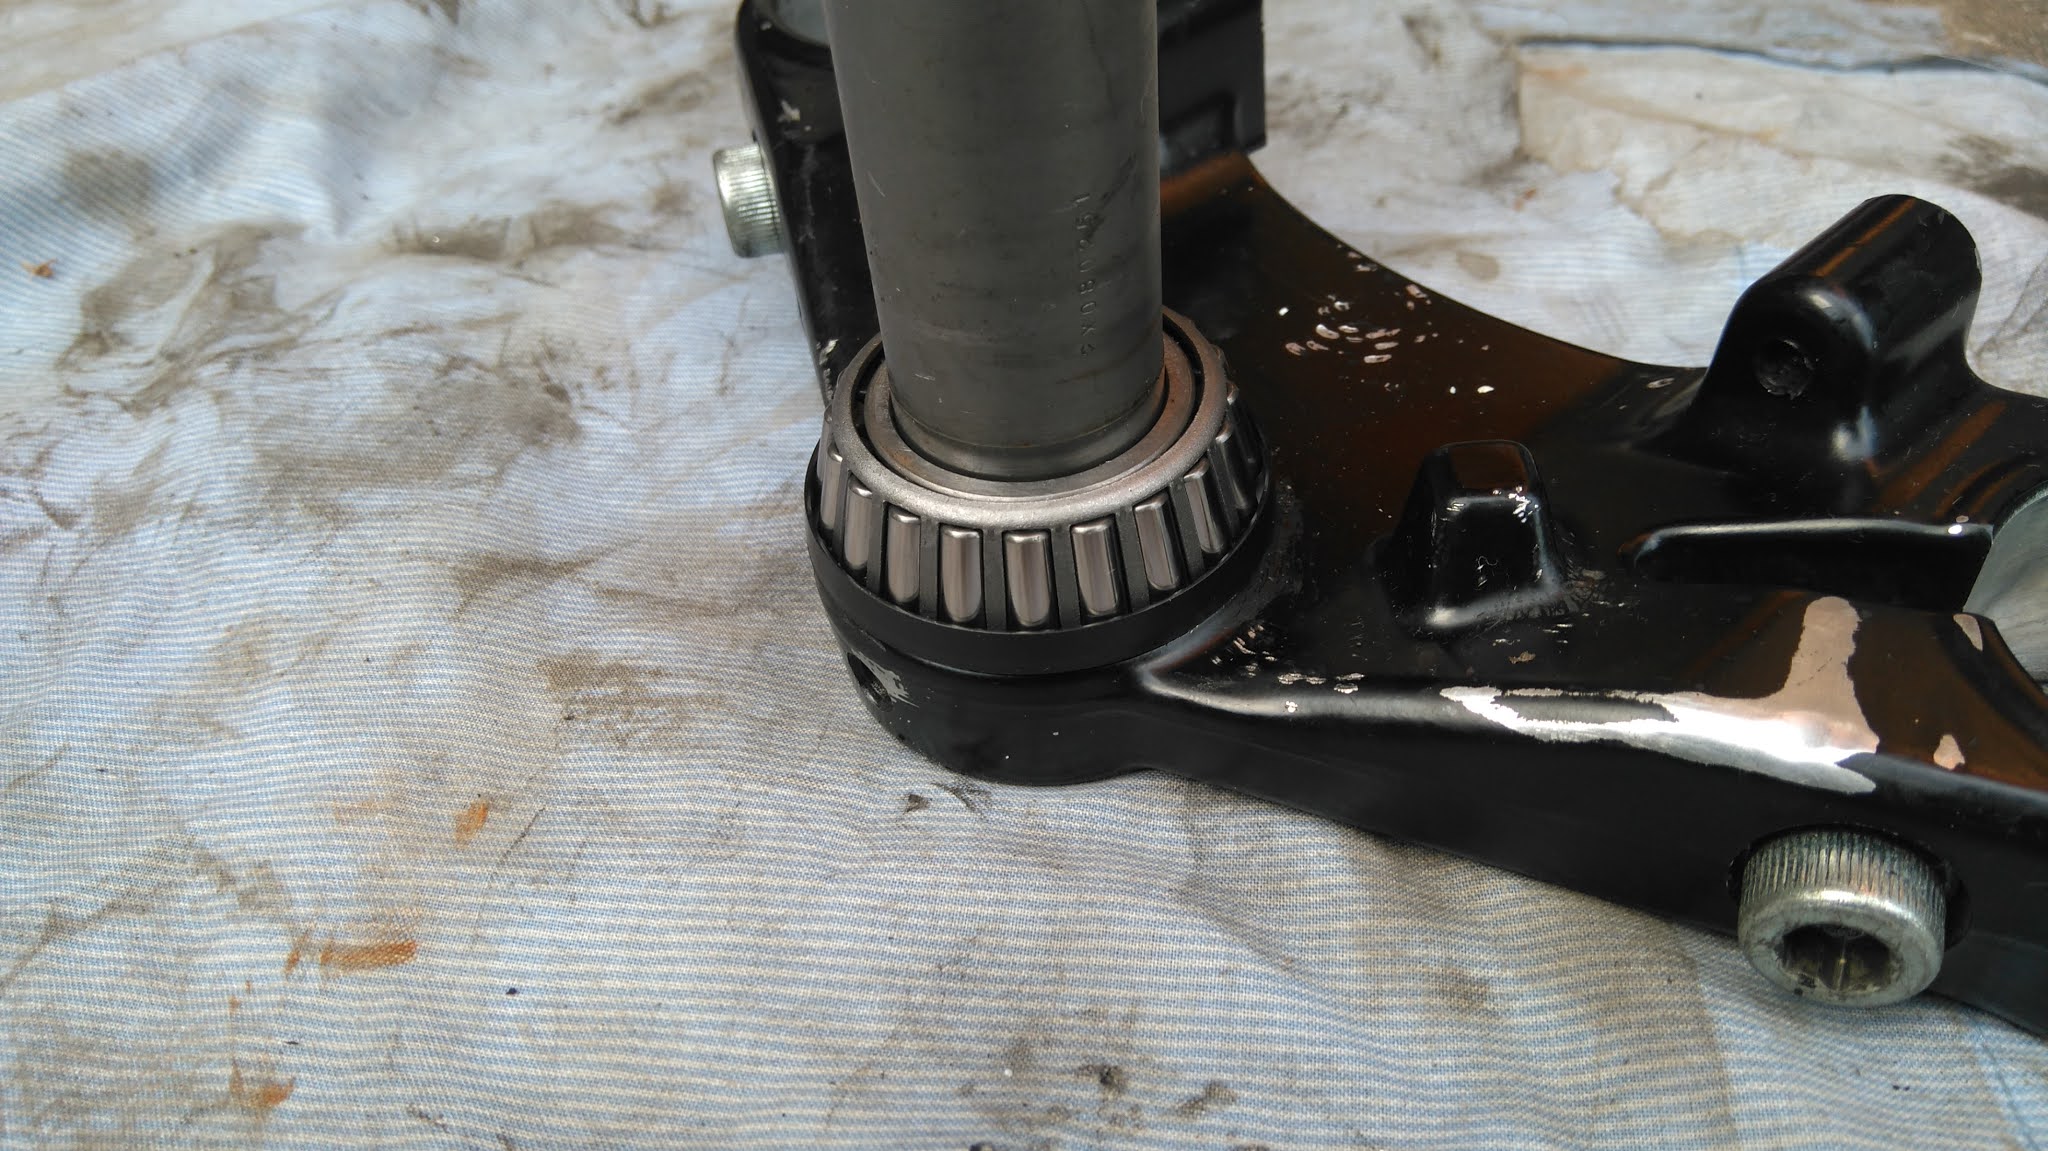
Lovely sealed goodness.
The top bearing isn't fitted so tightly, can be mostly pushed on but give it a few taps to make sure it's on there proper good like.
I also smush as much grease as I can into the rollers, hopefully this gives them longer life. Doesn't cost much to do.. With all that done, fit the yokes!
Here you can see just how much finer the thread is on the Showa setup:
Also bask in the glory of solidly mounted handlebars. BMW fitted rubber mounts to stop the vibration but the fact is, once the motor is warm, I barely find any difference yet I can now chuck it around like I want to. Silly. Anyway, with great yokes come great front endness..
And the new top nut/threaded insert thing (it's two separate pieces, why??) finishes it off.
Since fitting the Harley springs with the emulators the bike has barely sagged at the front, which makes it feel a bit like riding uphill all the time. To counteract this a little bit I decided to drop the yokes down the forks slightly, this should also put a little more weight on the front and make the forks work better. Behold, the K100RS-RR configuration!
Sadly I couldn't go any further because the handlebars are in the way, which is probably not a problem Rossi ever had.
Next up was to fit the super duper as-yet-not-properly-reviewed-by-anyone V series brake pads. Look at how orange they are, not very fitting for a BMW..
Also look at how one pair have a groove in the middle and other pair don't.. Thanks EBC Bike Brake Shop??
The compound looks.. Boring.
Supposedly they're more full of copper than normal. I'm not really seeing it. Still, in they go..
With the old pads it was the ones on the outside which had worn the most, so I fitted the non-grooved pads on the outside and put the grooved ones on the inside. I don't know if this was the right thing to do or not but it's surely better than having grooved one side of the wheel and non-grooved the other side? Maybe?
I also crimped a new spade connector on to the wire for the horn so she now shouts properly.
Refit the awkward two piece mudguard..
And time to look at this. Hmmm.
For better access I removed the switch from the dash pad. This is pretty easy, it just pushes out from behind the pad.
Get the ruining tool at the ready!
I tried for a while to take the switch to pieces for better access to the terminals but couldn't figure out how they come apart, so ended up awkwardly working on it while it was together. This wasn't as difficult as I imagined and the switch didn't mind a few scorch marks. Firstly clear out the old bits of wire and solder from the terminals.
Fit the switch back in the pad (you'll have a hard time doing that if you solder the wires on first!) and then poke the wires through the terminals.
And chuck some solder on it.
Not pretty but no one will see. After this the switch wouldn't move, I thought I must have melted the internal mechanism together but a quick spray of oil into the hole on the bottom freed it up. The other switches also got a quick squirt.
While I was feeling electrical I also set about connecting the ground for the Hella power plug which has never worked since I bought the bike. The ground wire comes up from the connector and into the relay box under the tank, where it turned out to not be connected to anything at all! I do like an obvious problem with an obvious solution. So..
A quick crimp of a spade connector here, a quick crimp of a loop there, run it over to the main grounding point on the spine of the frame because there are no spare grounds inside the relay box for some reason...
All done. All that is left is to replace the injection hoses (that can be another post!), screw the fairing back on as much as I could and go for a test ride.
So, the verdict on K75 yokes with solidly mounted handlebars? Marvellous. Pushing the bike around is easier because the bars aren't squishing about, slow speed manoeuvres are easier and more direct with far more feedback which helps with confidence and the bike is better to ride. When the engine is cold I admit there are quite a lot of vibes reaching my hands and on the first ride I really wondered if I'd done a silly thing but once it is warm the vibration is at a perfectly acceptable level while I can revel in the new found handling capability. Recommended!