*Disclaimer: Some bloke did this in his front garden in an afternoon and had no real idea what he was doing. There may be easier/more technically correct ways to do this.
Step 1
Stare at the back of the motorcycle.

Step 2
Begin by removing the right side panel.

Step 3
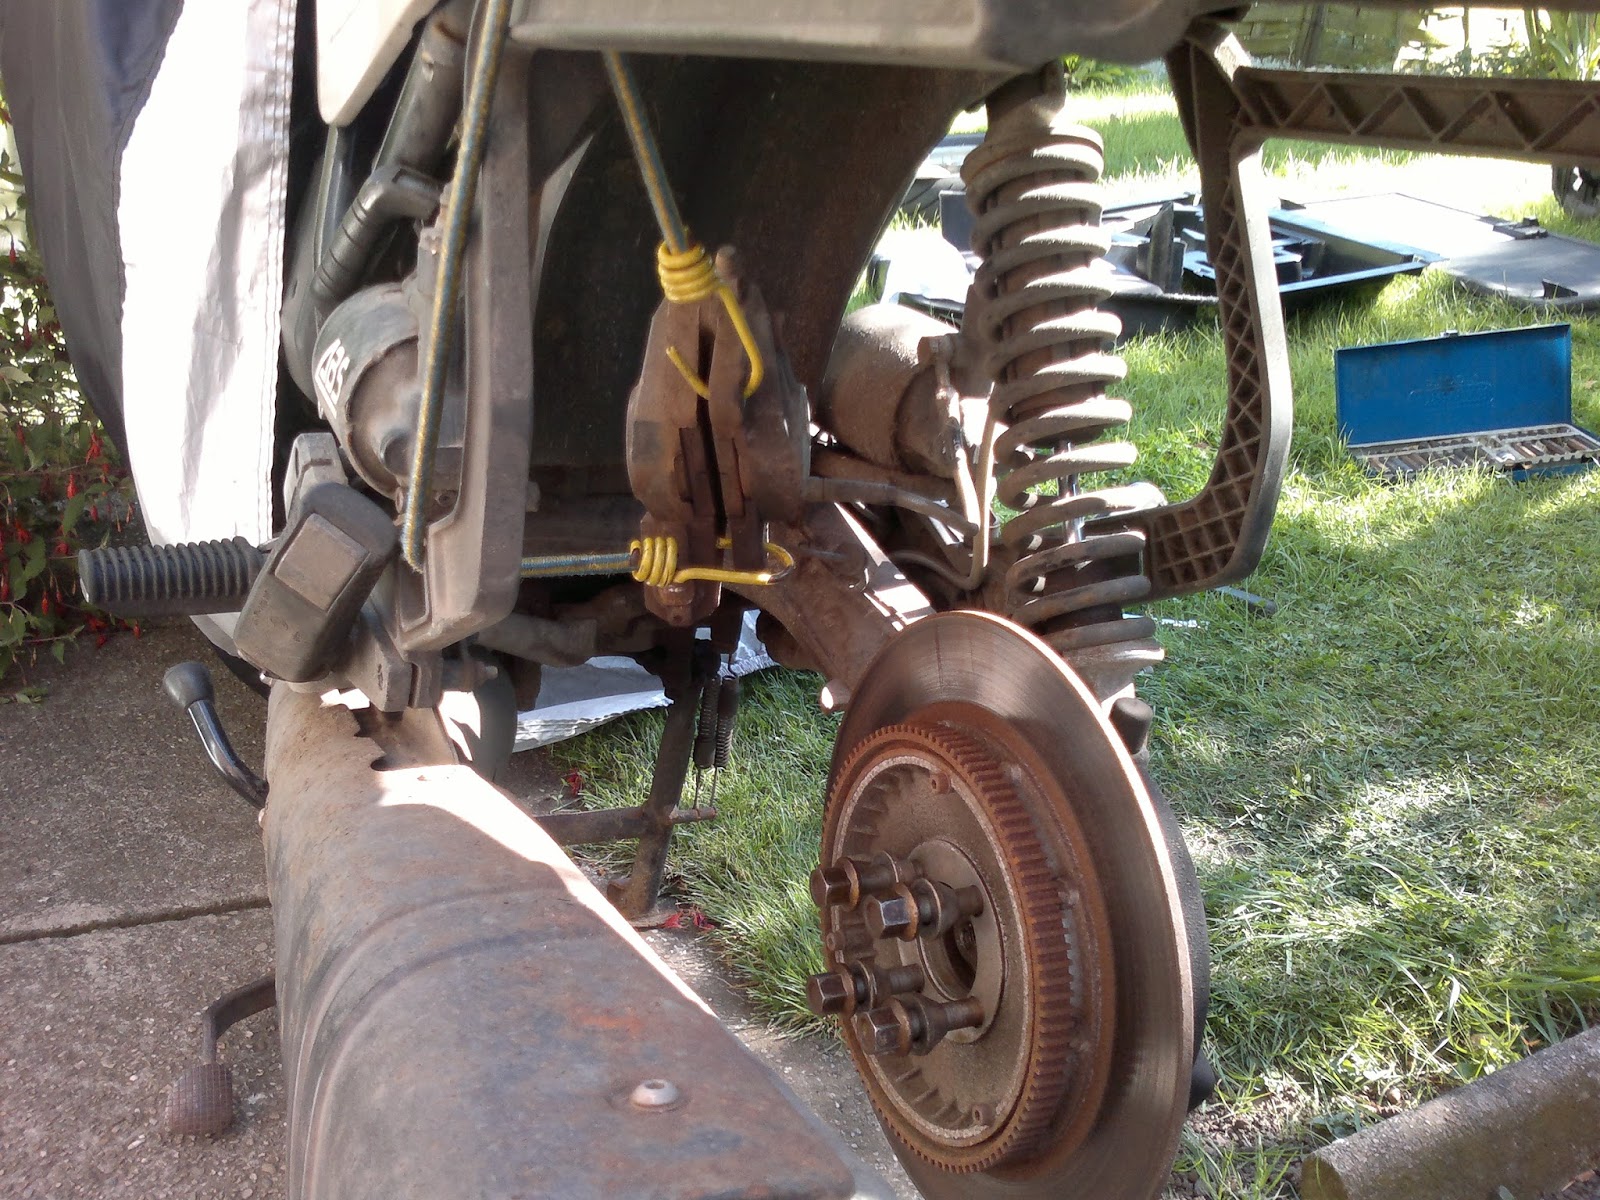
Lift the seat up, undo the two nuts holding the number plate bracket in place, undo the two screws holding the number plate in place, and remove the whole sorry lot. Then remove the rear wheel.

The ease with which this can be done (aside from getting the plate out of the way) is possibly the one serious upside to owning a shaft drive bike. Enjoy this convenience as best you can.
Step 3b
I took this opportunity to knock the pins out of the rear caliper a bit, grease them up and knock them back in. This is optional but recommended as I had a right nightmare of a job getting the pins out of one of the front calipers a while back, it was so bad a Dremel and a hammer were both employed.

Step 4
Pop the ABS cable grommet thinger out of its holder and then undo the two bolts that hold the rear caliper in place, then tie (bungie) it somewhere out of the way.
We need to free the speed sensor thing from its snuggly home. This, right at the back:


Step 6
Undo the top shock bolt that you uncovered right at the start.

Now undo the lower shock

Step 7
I got a bit excited with the amount of progress happening and stopped taking pictures for a little while.. Basically, with the arm still supported, find a strong allen key and a bit of bar and undo the four bolts that hold the final drive on to the end of the swingarm. This is quite awkward, the bolts may be quite tight/corroded and the use of an allen key means you're doing your best to round out the bolts but it's the only way. I would have loved to have used a bit and a ratchet but there isn't enough room for the head of a ratchet, so allen key it was. Yuck.
With the bolts out, pull the final drive off the end. Mine spewed a bit of gear oil over the floor and, weirdly, had silicone sealant around the inside to hold the oil in. I guess the final drive leaks a bit and someone decided it was best to keep it all in the shaft housing? This is probably a Bad Thing but could be normal, I dunno.

Keep the final drive unit upright otherwise the gear oil will fall out. Wooden blocks to the rescue!

Step 8
"Simply" pull the shaft out. The trick oft mentioned is to hammer the end of it to break the contact of the splines on the far end, and then just pull it out. I hammered and pulled with vice grips and hammered and pulled to no avail. Eventually I went full on and pulled with all my might, including shoving away from a small stone wall. This finally made it come out, what a game!

Step 9
Clean those splines! Clean them so good. Also dig the rust and slime out of the final drive unit, should yours be in a similarly dilapidated state to mine.


Spline wear is a problem with the Monolever rear end in particular because the amount of up/down movement makes the shaft slide along the splines, and supposedly this is when they wear. If I find I need to replace the final drive because the splines are too far gone (you can't fix them yourself) I'll probably stick a 16v Paralever setup on instead. For now I'll console myself with the thought that at least it isn't a chain driven bike, with easily replaceable and affordable sprockets or standard chain size that I can get anywhere should I need to. Because this maintenance free shaft drive is much better, right? Right??
Step 10
Grab your special 60% or more moly grease (in the U.K. we only seem to have Castrol Molub-Alloy Paste TA, in other countries you may use Guard Dog or maybe get some old stock Honda Moly 60) and shovel it onto the universal joint and the splines that fit the gearbox output shaft.


Congratulations, you just lubed your final drive splines! Now do it every rear tyre change if you're a responsible owner or every 10K miles if you're a bit lazy. I left it 12K but I'm a terrible person, sorry to any BMW enthusiasts who may read this.
Very good info
ReplyDelete